


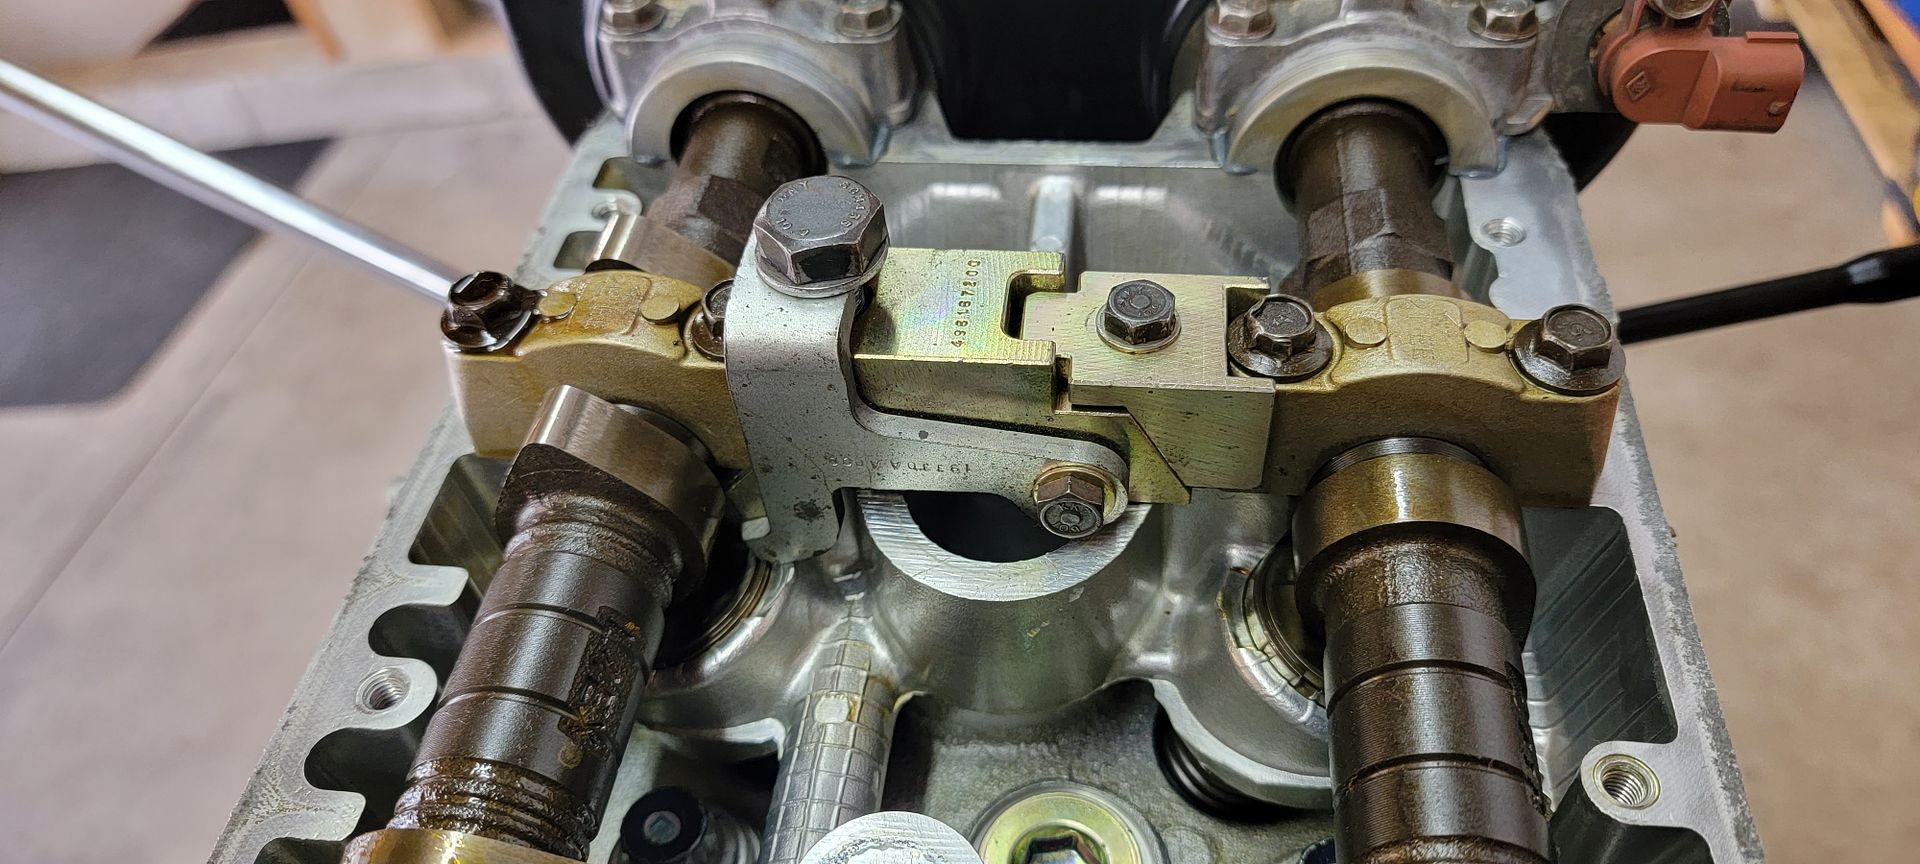
Finally made some more progress on this project. After figuring out how to use the Subaru special tool I was able to make my valve clearance checks. Not all of the valve clearances needed to be adjusted thankfully. The special tool certainly makes life easier but it took a minute to figure out how to use it as it does not come with any instructions. Basically you place the tool between the exhaust and intake valve of one cylinder. as you tighten the 10mm bolt the tool wedges itself so it sits still. as you turn the 17mm bolt the arms force down the buckets which allows you to remove the shim and replace with the correct shim after doing the magical mathematic equation found in the FSM. I'm not going to go into anymore depth on the valve adjustment at this time. If anyone needs any info I can share more details if requested. Unfortunately I did not have the required shims for exhaust valves on cylinder three but I was at least able to move forward with everything else while waiting for parts to arrive.
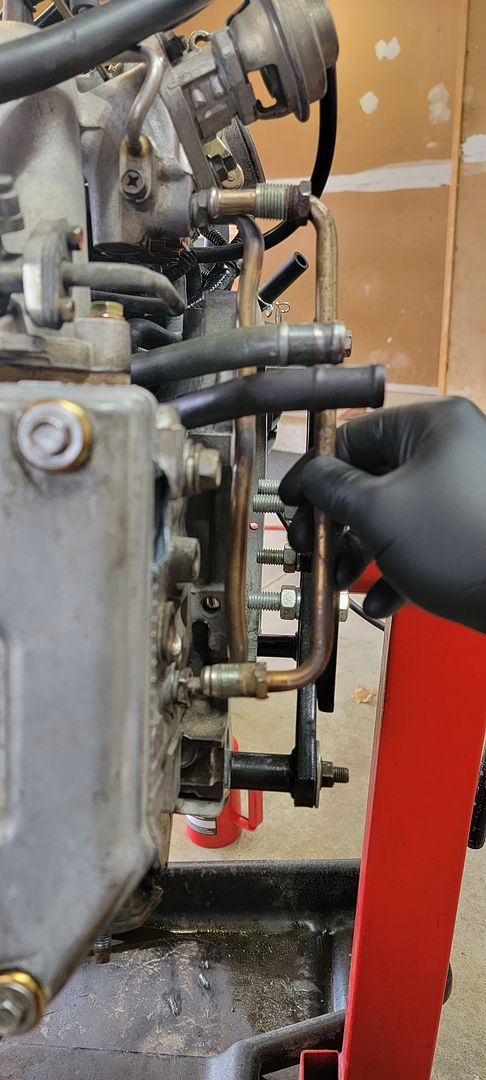
Here you can see just how the tool is placed. You can also make out the part number for the tool. 498187200 (Its expensive!)
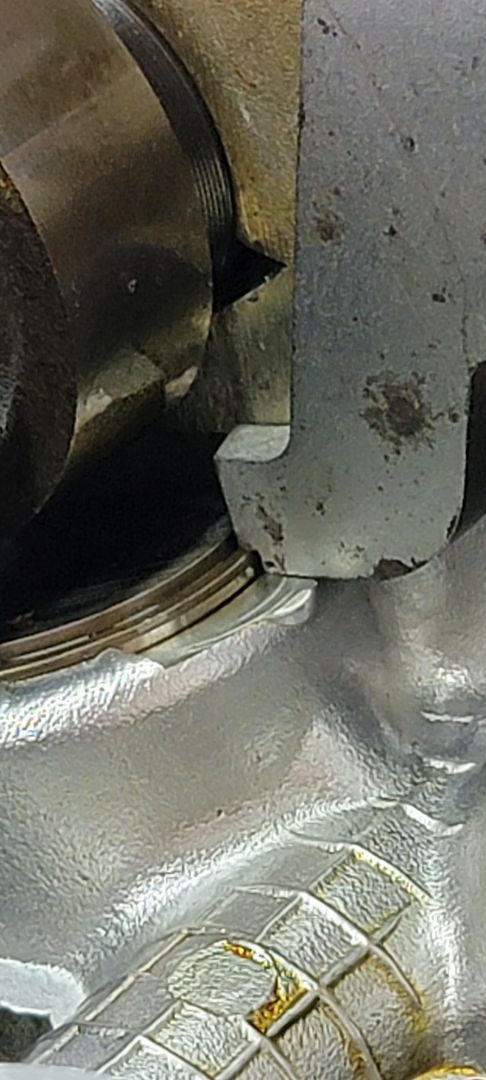
Here is a closer look at the arms that push down on the buckets and how it should be placed.
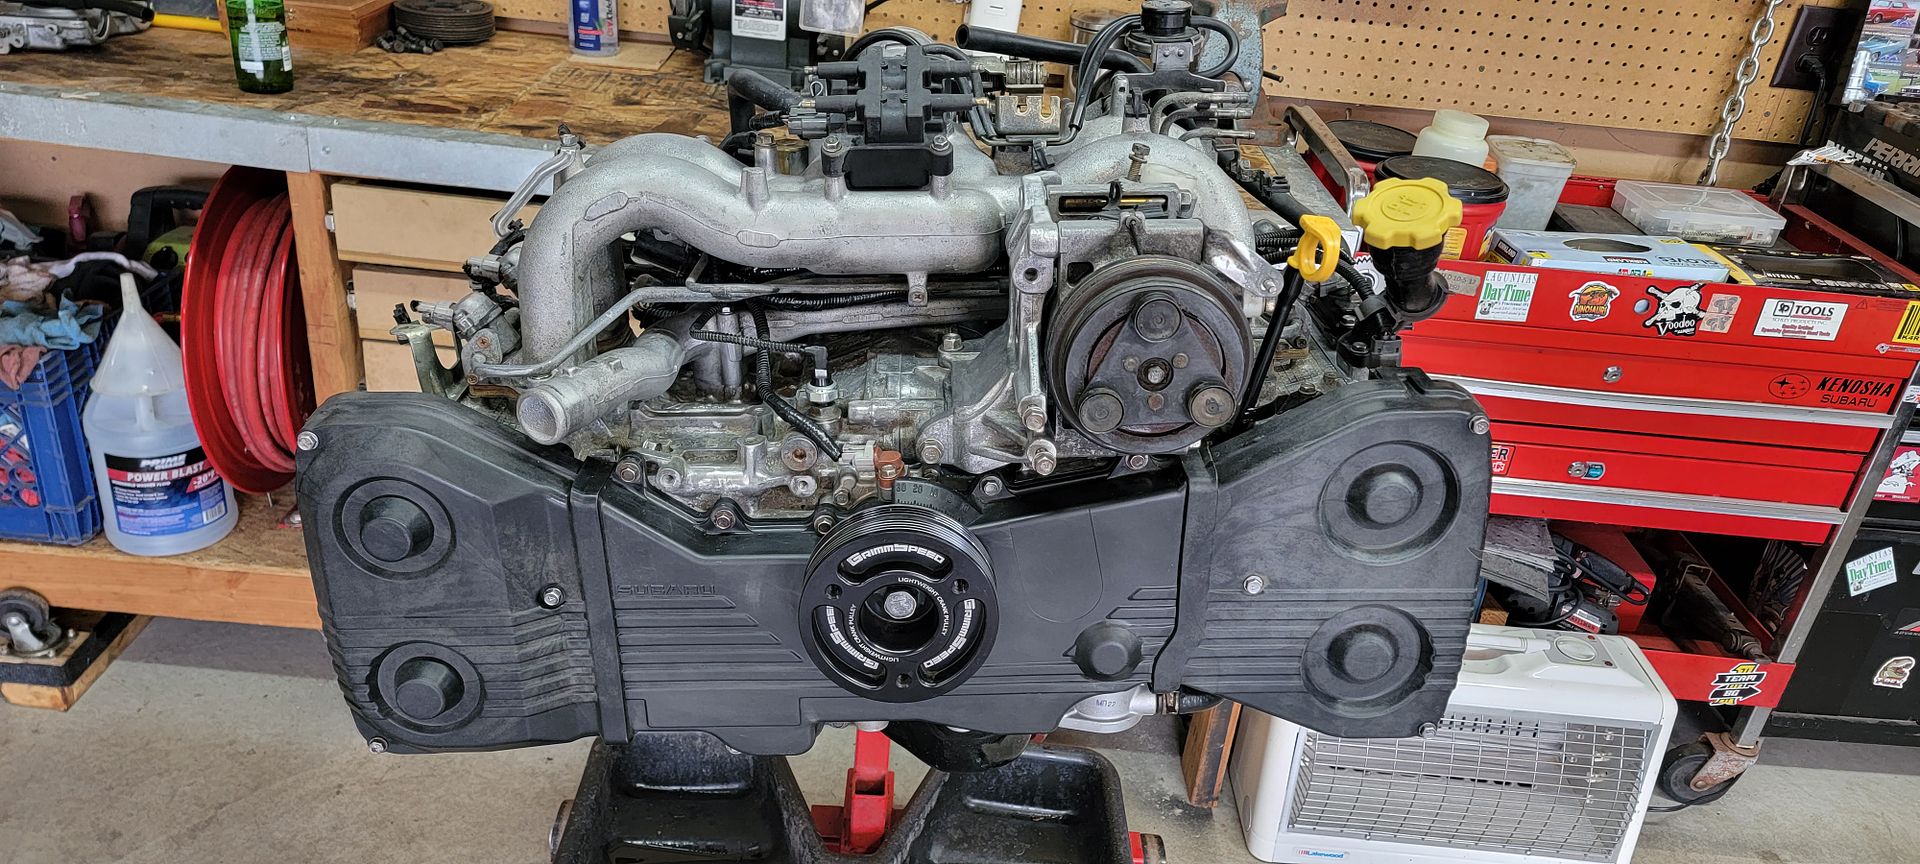
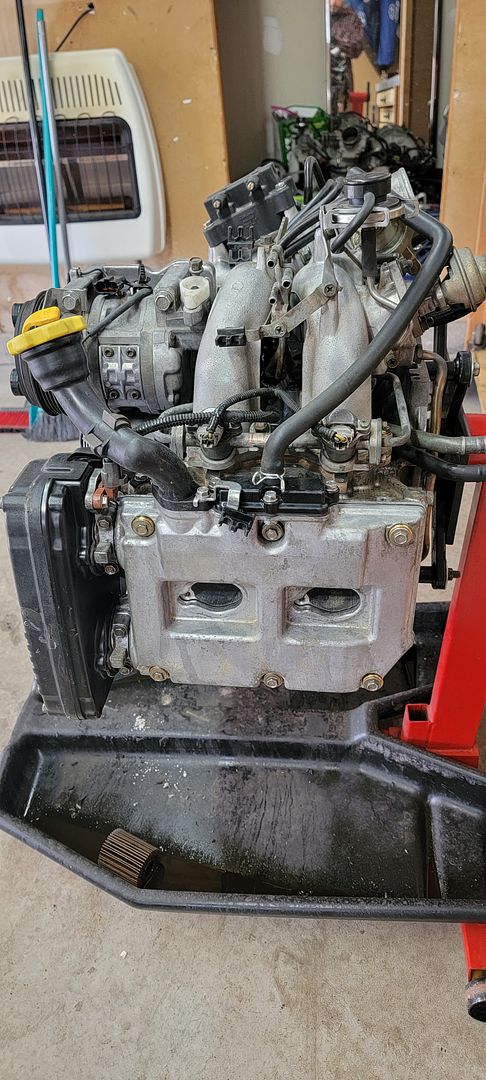
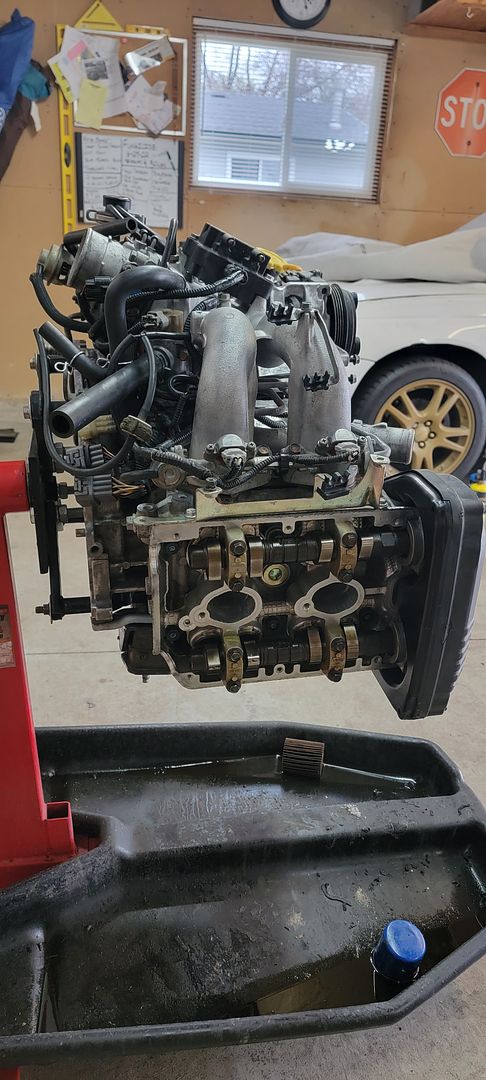
So...Although I don't have the last 2 shims I need, I decided to move forward with everything else while leaving the one valve cover off. This included assembly of the intake manifold.It was a little confusing getting all the wiring and vacuum tubes back in order. I was able to get it done while also replacing the old cracked up rubber lines and retaping small portions of the harness. I cleaned of harness connectors and installed new large style zip ties in the stock locations. Before putting the intake manifold on I installed the previously mentioned phenolic spacers. Install was about as simple as can be. I used OEM gaskets on both sides of the spacer. The kit came with some fancy hardware which is longer than the OEM bolts for obvious reasons. The hard part was extending the EGR tube. I basically torched the S*** out of it and kept bending and stretching. Eventually I got it in place but it was not easy! The kit should come with a new tube in my opinion....just sayin. Timing covers were cleaned and installed along with the light weight crank pulley. A/C compressor installed.
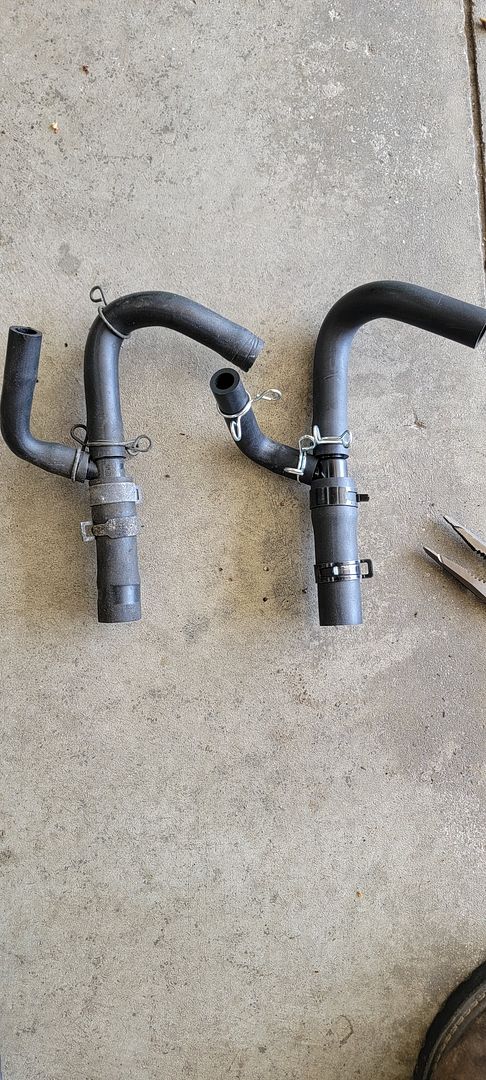
I decided to replace the PCV tubing. Surprisingly it did not get damaged on removal like I expected it to so now I have a used spare if anyone needs one.
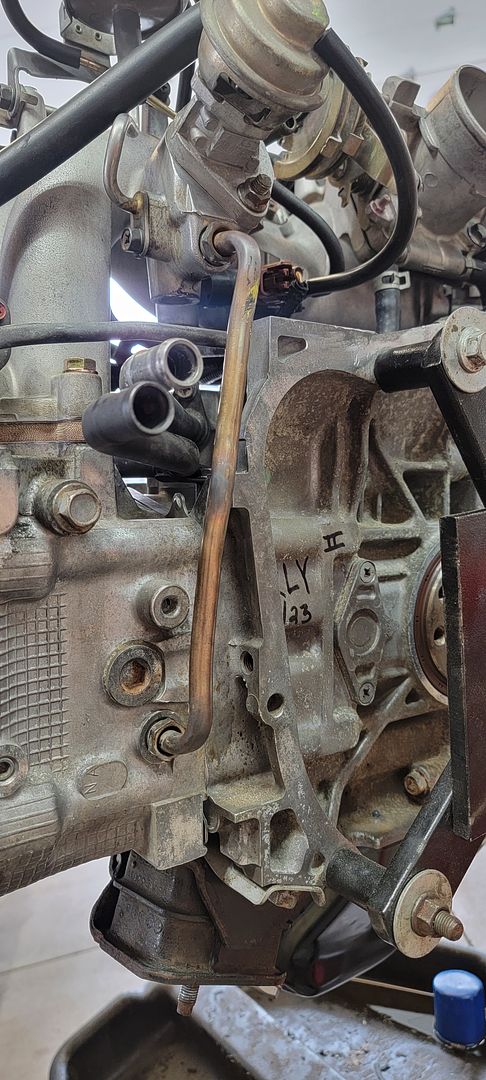
Here you can see the stretched EGR tube vs a regular one. It onle has to be stretch a small amount but it was very difficult.
Just waiting on the last 2 shims on cyl number 3.
Its nice to have less parts laying around and my work space cleaned up a little.
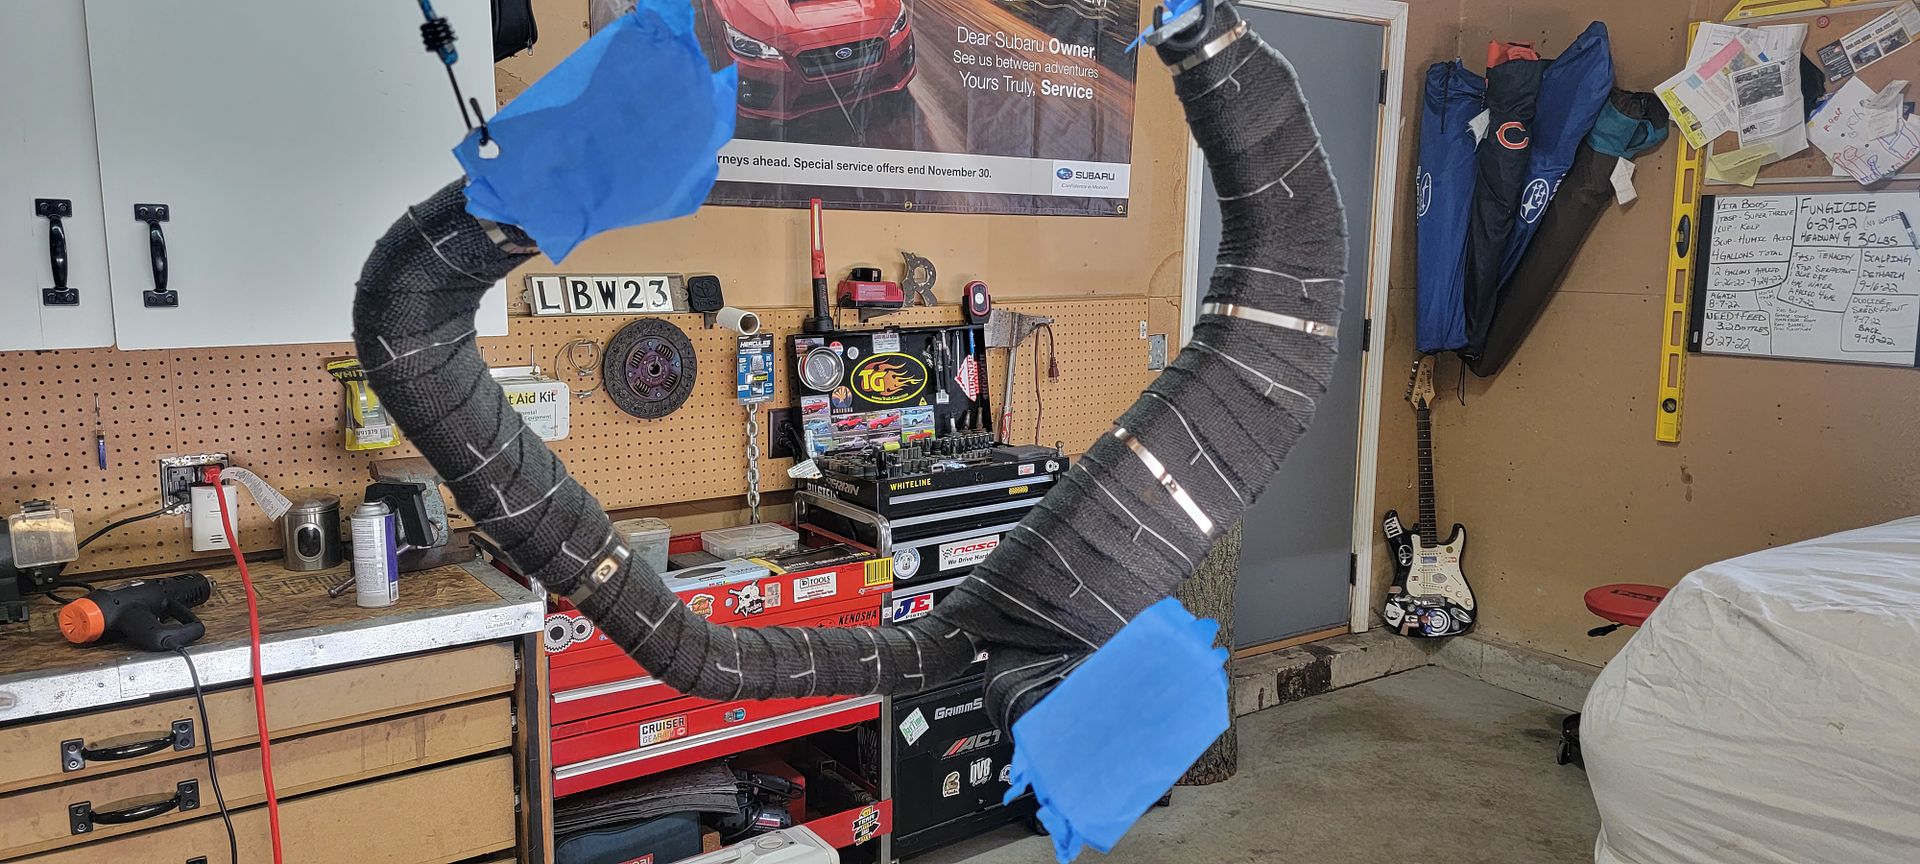
Next on the agenda was wrapping the exhaust header. Now this is my first time ever doing this and I gotta say I thought it would be easier then it actually was. I used a black fiberglass wrap with small metal twist ties as well as large metal zip ties. The metal zip ties are a little annoying to get tight but using a needle nose and a twisting motion while setting the locking ball inside the lock is what I did to get it as tight as possible. Once it was all wrapped I used a "thermo 2000 degree heat coating".
This is after wrapping just before spraying on the heat coating.
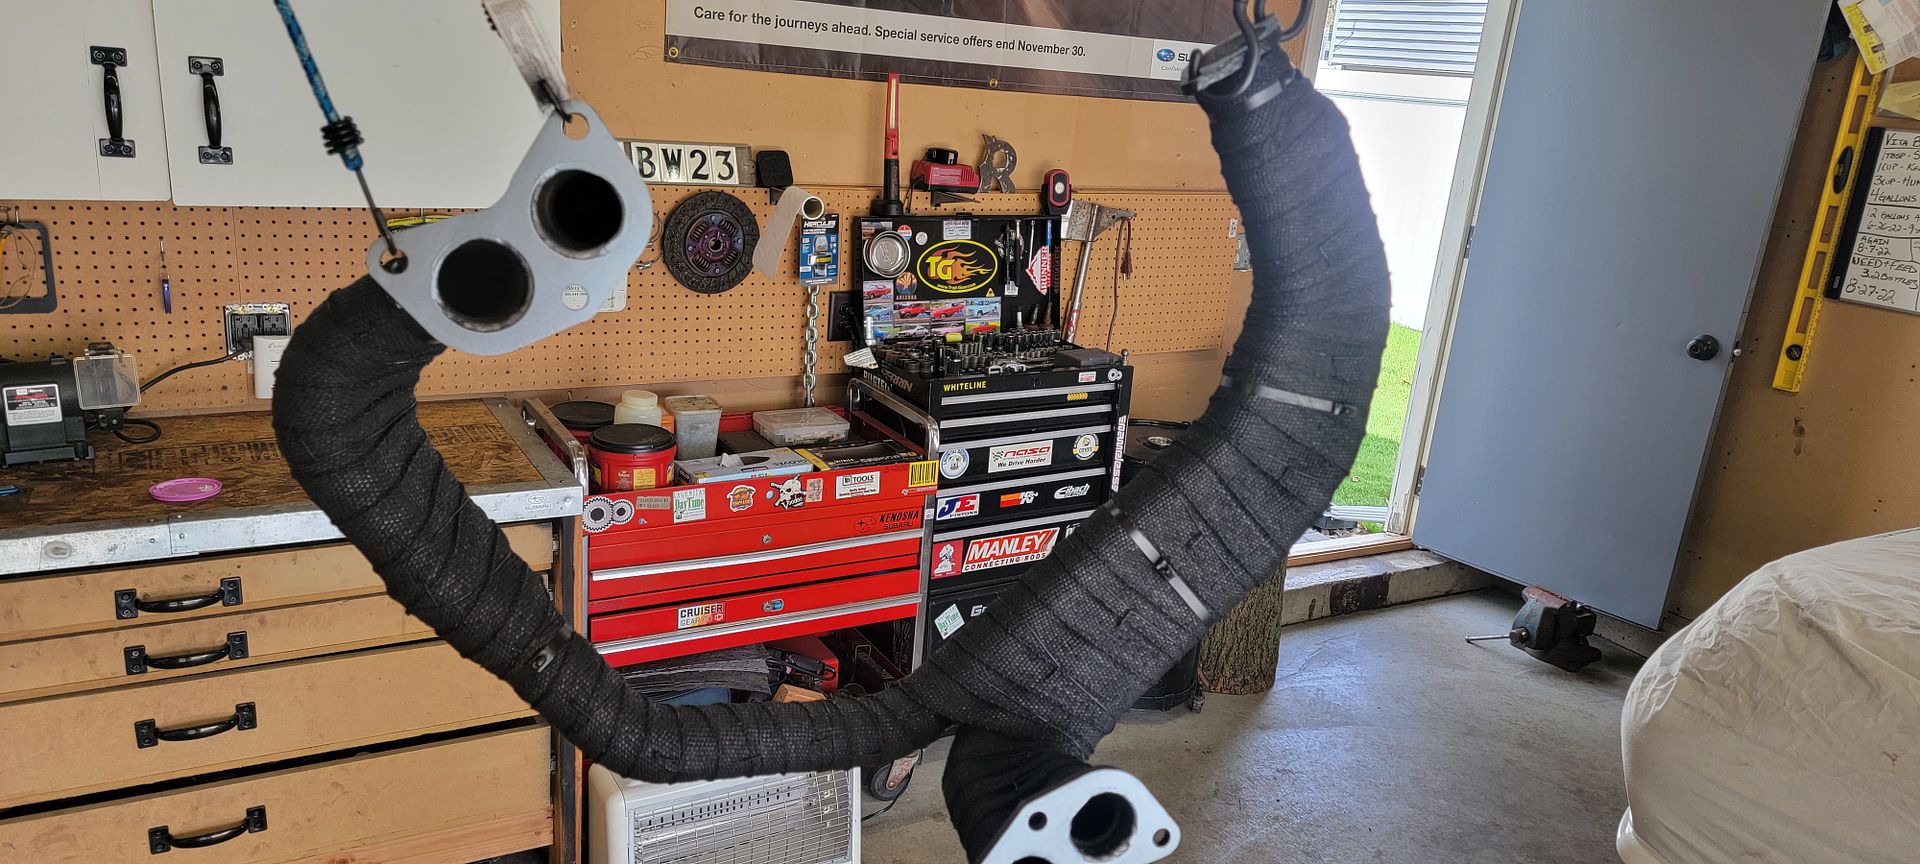
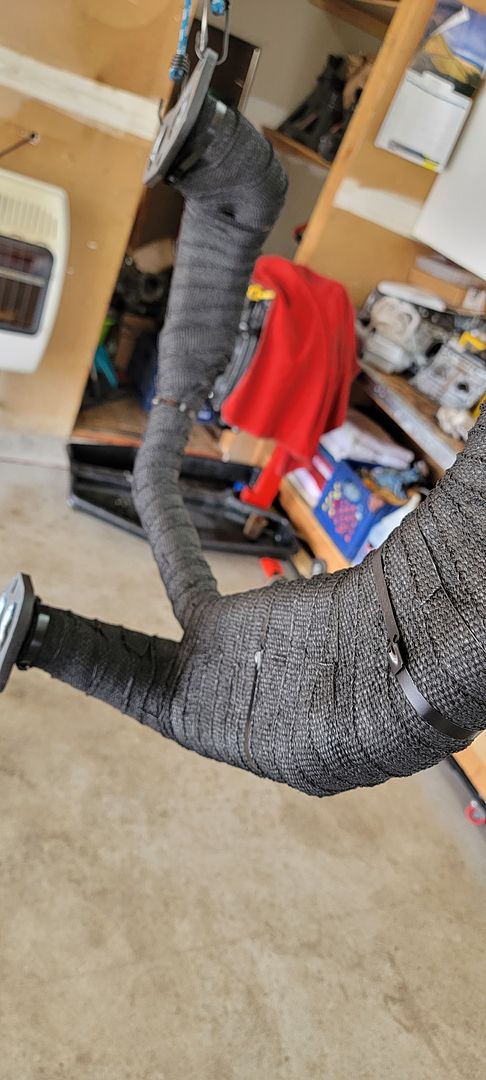
This is after the heat coating. I sprayed 1 coat and then with gloves on I tried to smooth down the fibers with my hands before applying another coat. I purposely used one entire can.
That's all for now. I forgot to mention I have plugs and wires on order along with those shims.
-RONI-


 Reply With Quote