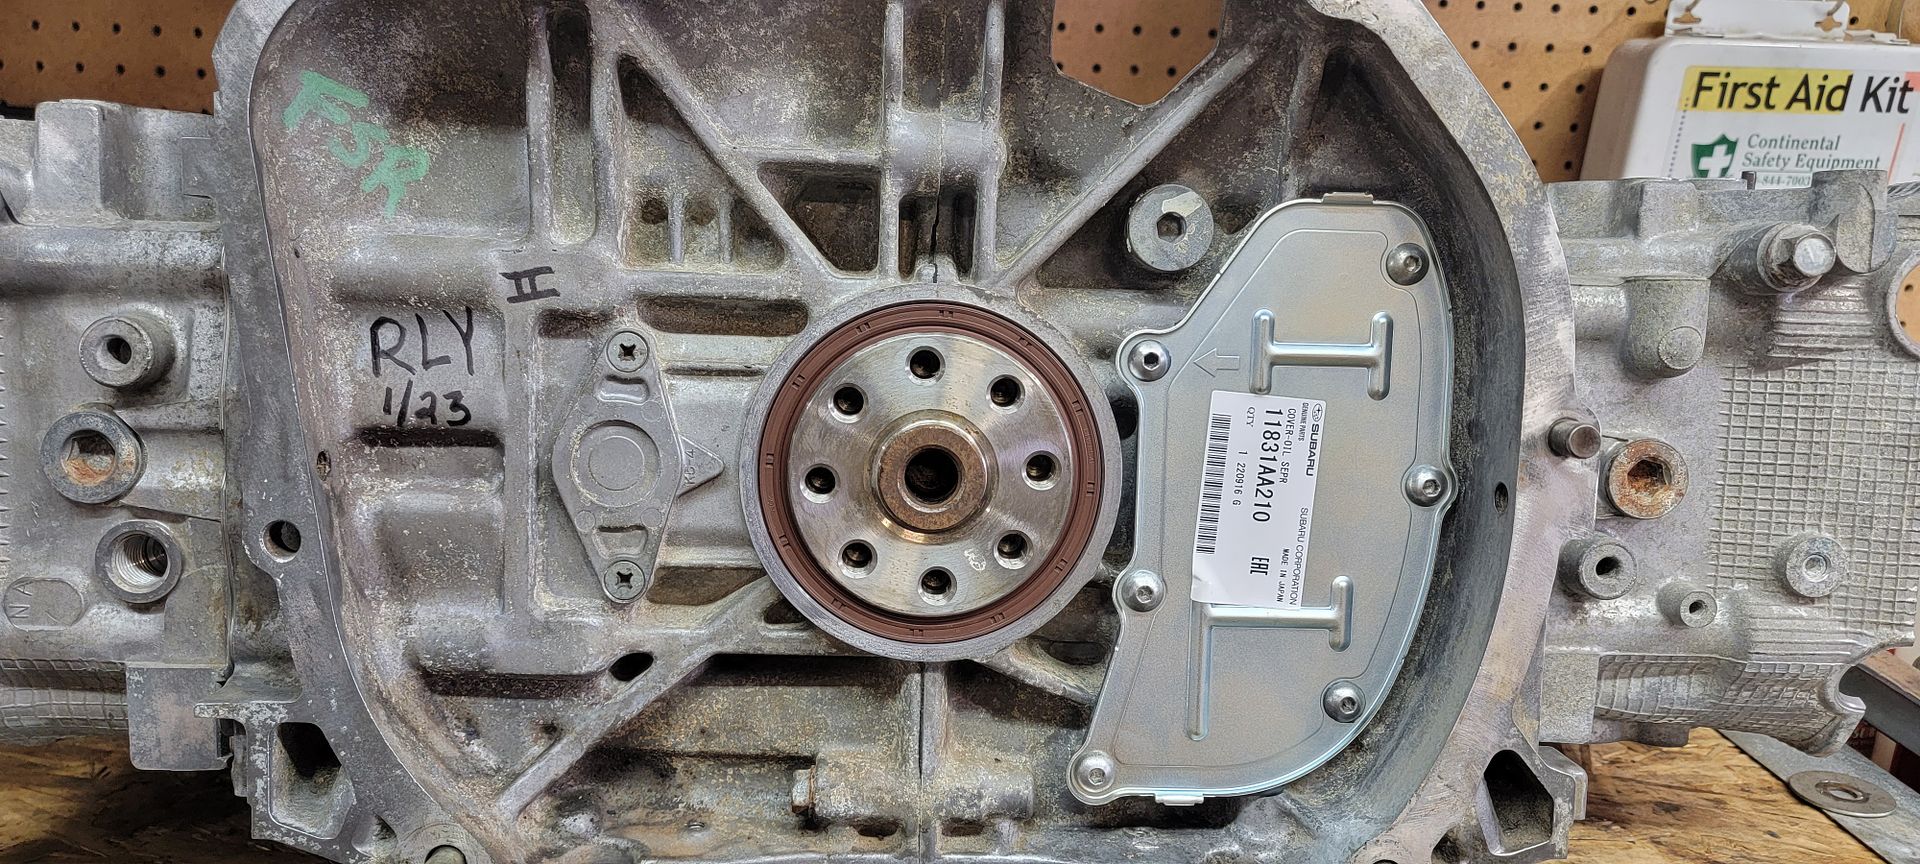
Got some fresh Fuji Bond and got around to installing the new oil separator plate on the back of the block. Also installed a new rear main seal. I know many of us have used various techniques for installing seals such as, large sockets, the old seal, or just a hammer. I can not stress enough how the right tool for the job is KEY to installing seals PERFECTLY. Granted, as a Subaru technician I have access to every special tool and seal installer available...But man it makes such a huge difference in ease and making sure you have your seal at the correct depth exactly where it was intended to be.
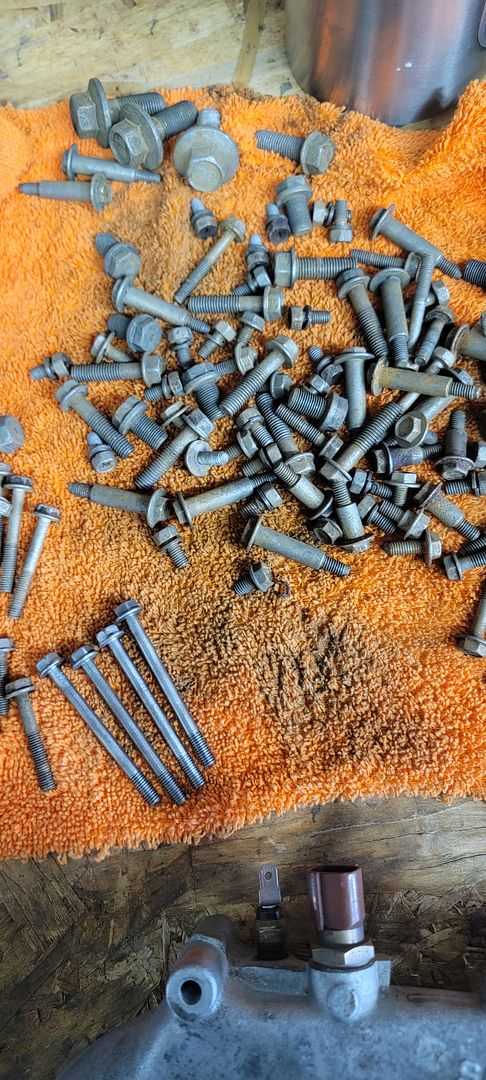
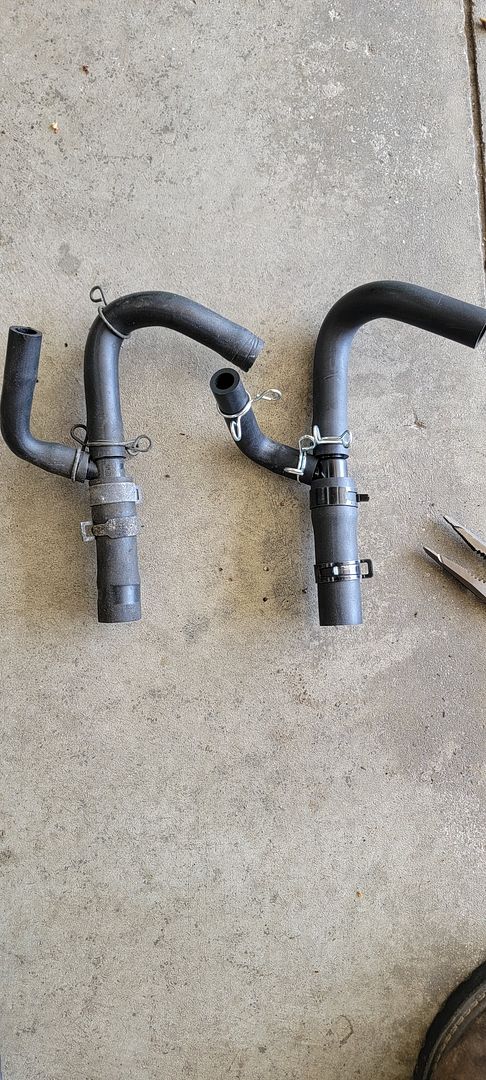
I want to keep all original hardware so I did my best to clean it all up. The hardware sat in white vinegar for about 2 weeks. This helped remove a lot of the rust and pretty much all of the sealant that was stuck to threads. The bolts came out a lot cleaner and with a dry gray finish to them. I have been hitting each bolt with the wire wheel before installing. Here you can see the dried bolts that just came out of the vinegar. You can see the 4 at the bottom there have been wire wheeled and ready to be installed on the coolant crossover pipe.
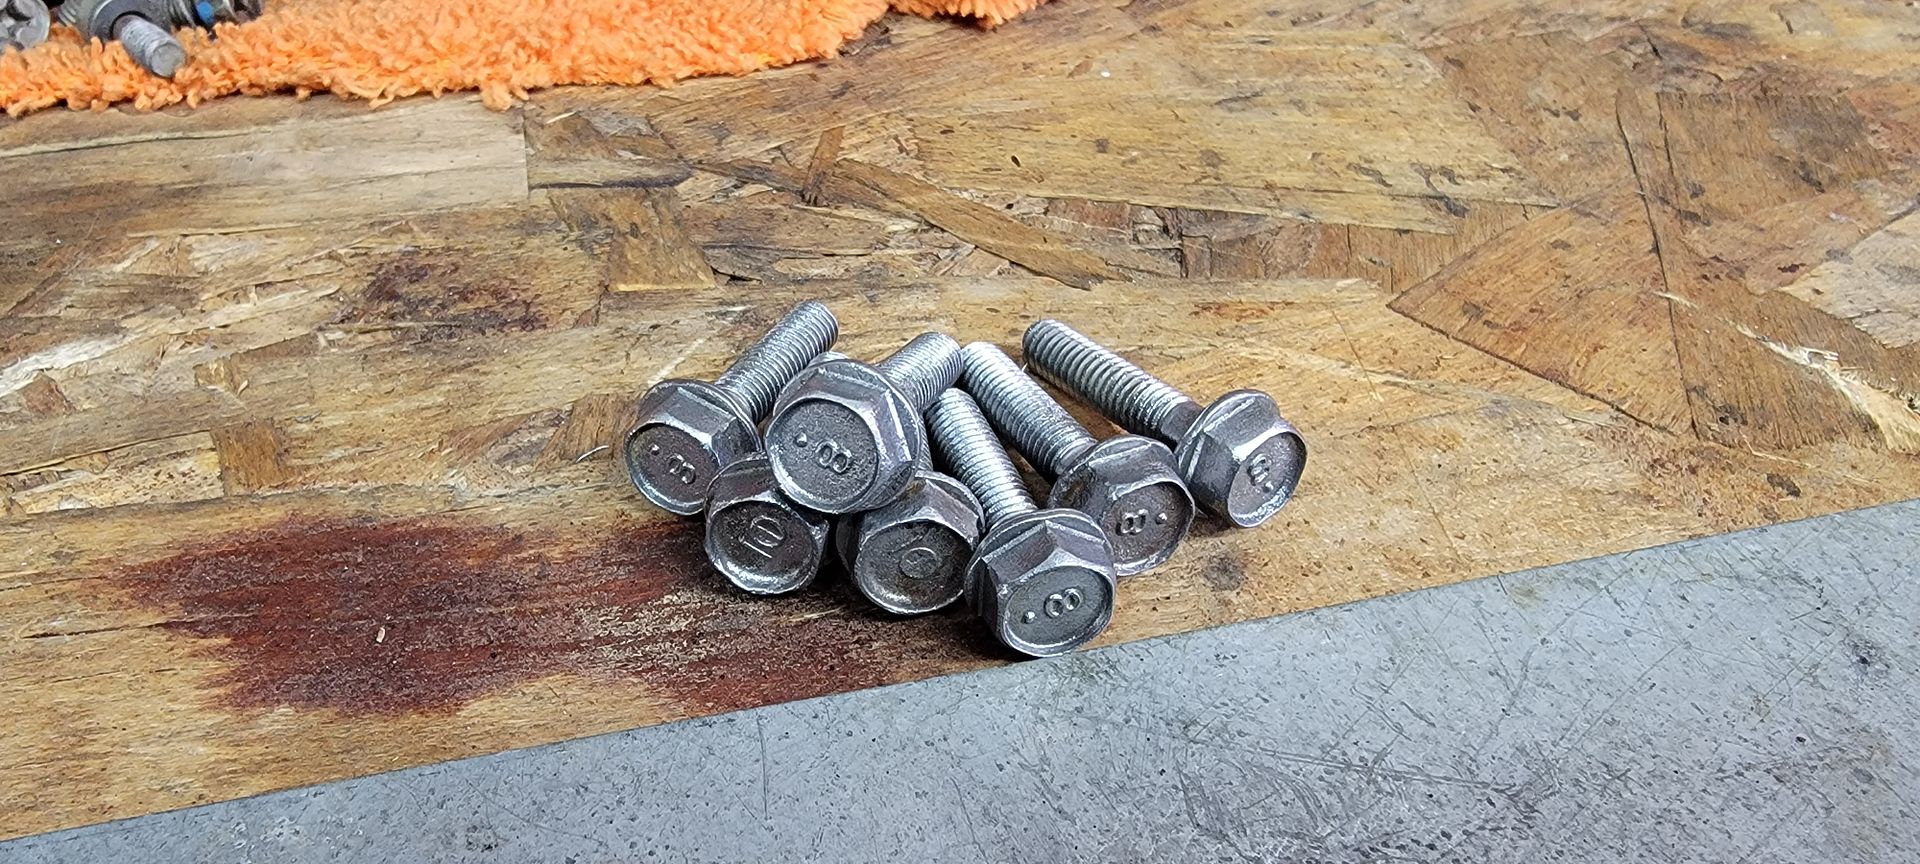
Oil pump bolts after vinegar treatment and wire wheel love.
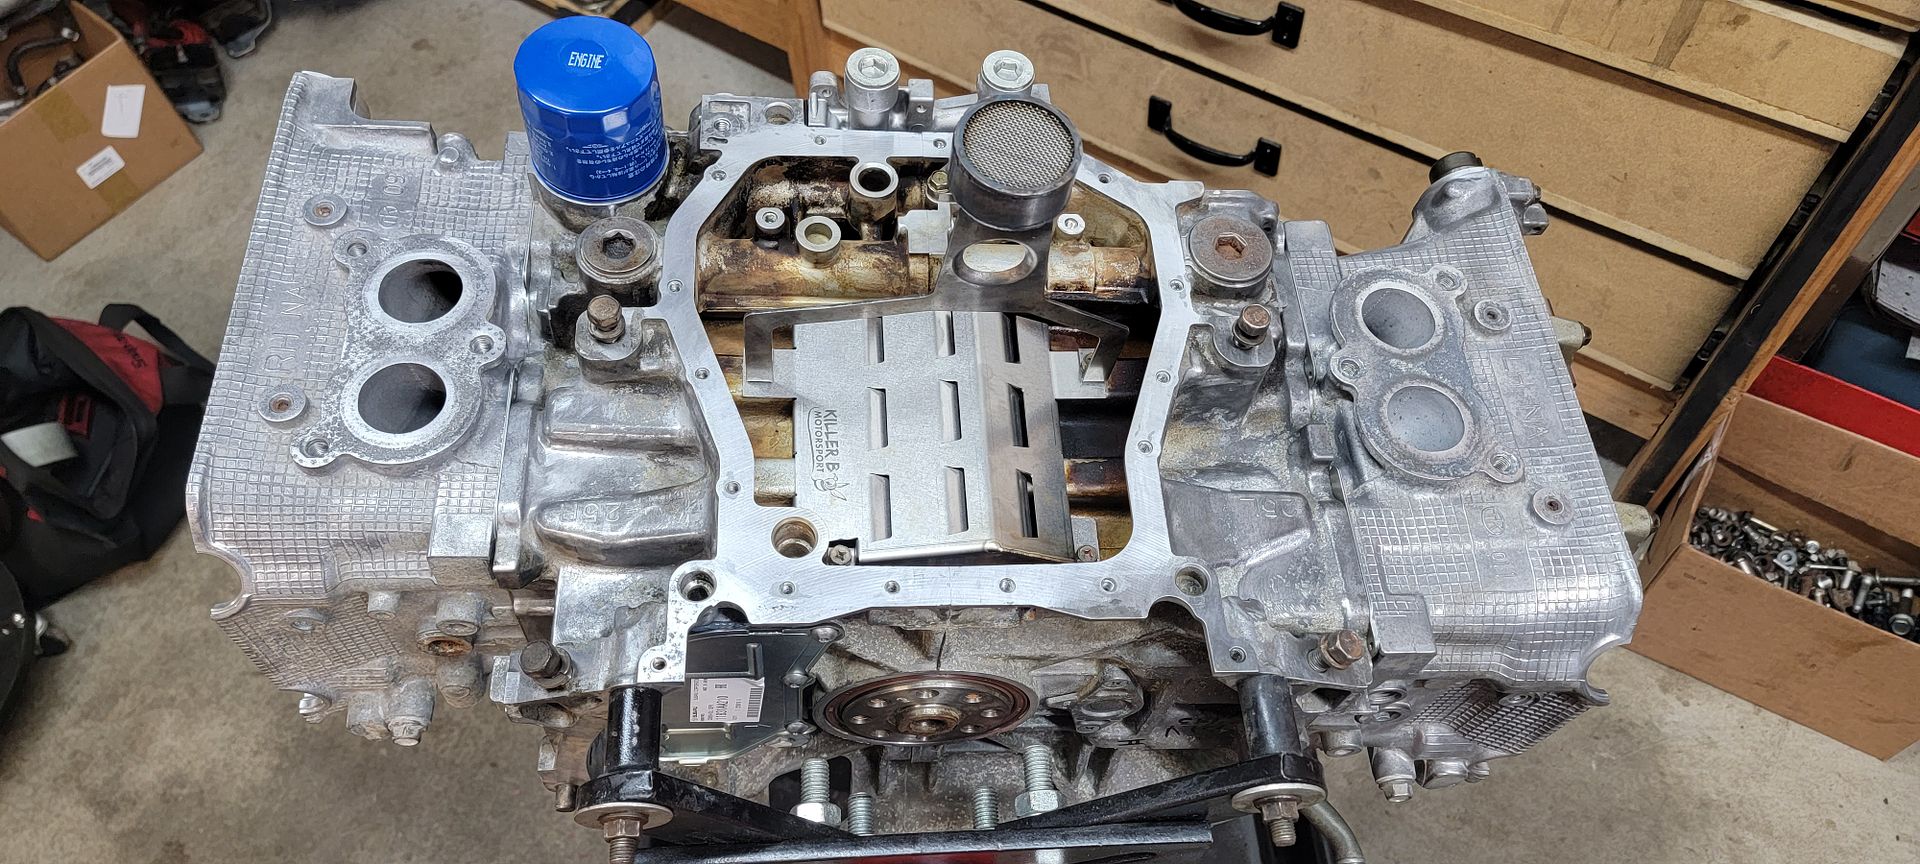
Killer B windage tray installed with the Pick up tube. I'm lead to believe the pick up tube I am using is a first generation Killer B tube. It is far sturdier than the stock counterpart. I contacted Killer B about the 0 Ring that is used for the tube. I had an OEM O ring on hand but felt it was a bit small. Killer B motorsports confirmed that although they recommend their O ring kit the OEM o ring should seal just fine. Not gonna lie...I was a little paranoid and decided to use a little Fuji Bond on the outside of the O ring as a precaution.
STI oil pan installed. I was a little upset to see that this brand new part came out of the package all scratched up like that but decided to use it anyway. Gold plug magnetic drain plug installed. Group N motor mounts installed. USDM OEM oil filter installed.
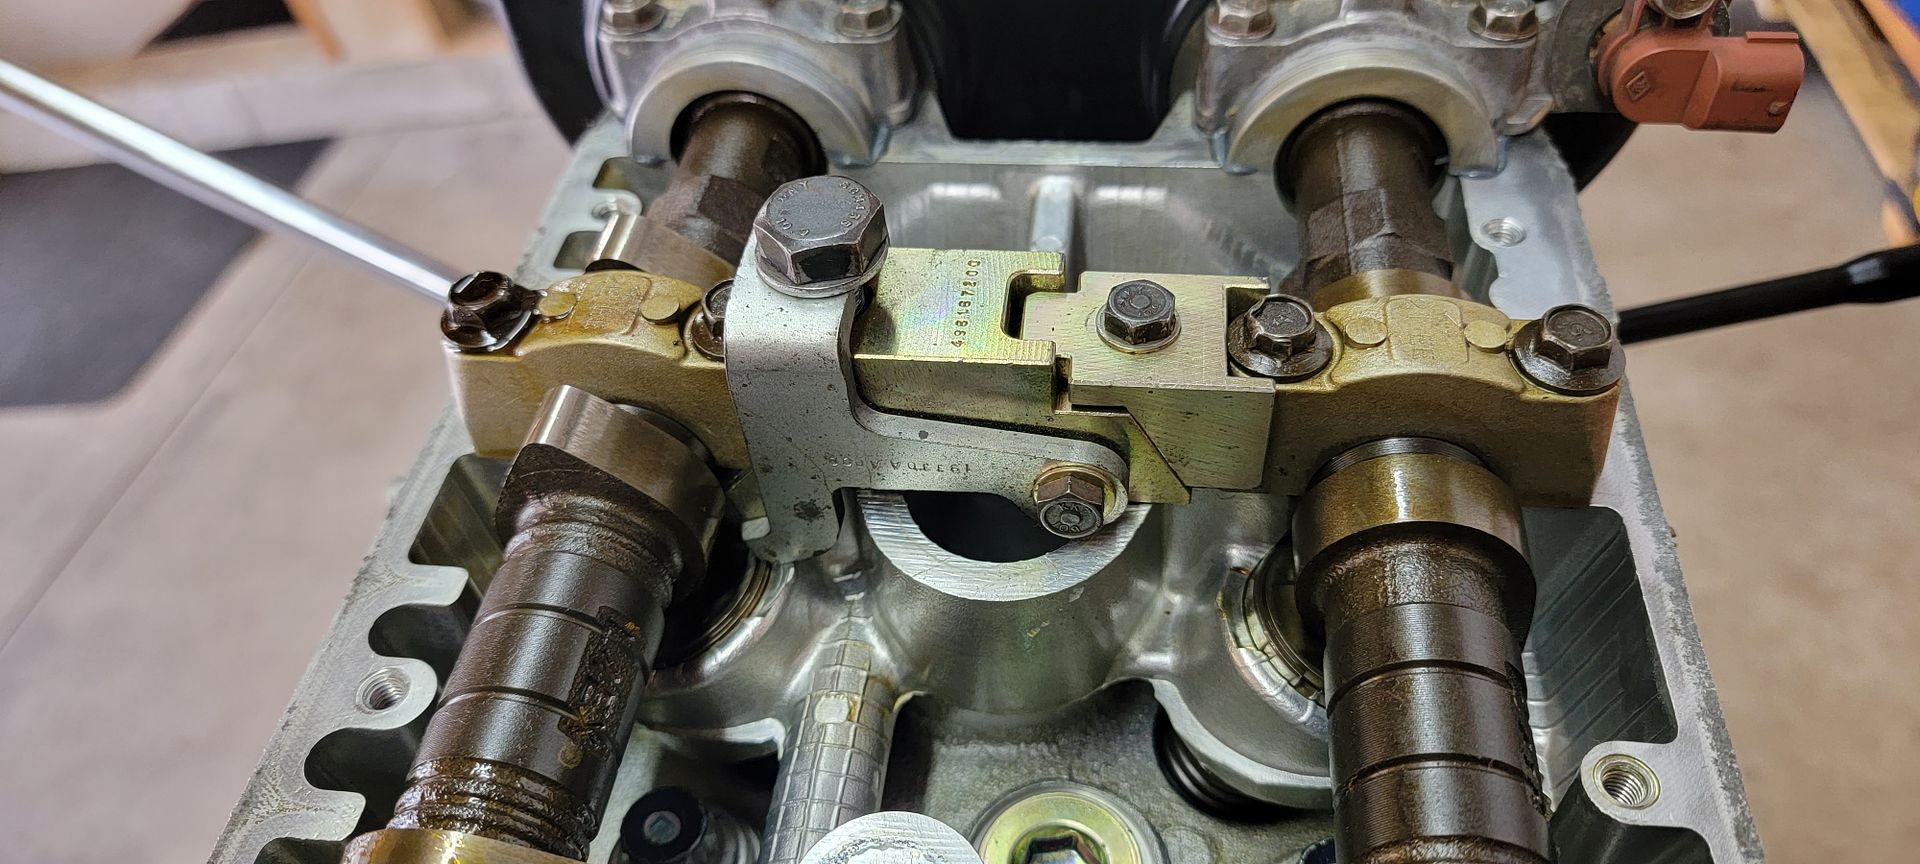
Oil pump has been disassembled, cleaned, lubed, and reassembled. I used a dial caliper to measure the rotors and verify it is indeed a 10mm oil pump. I would have run the 11mm pump if I had one but I am ok with using the 10mm pump seeing as it is what Subaru calls for on this particular engine. Research shows more flow and psi can cause things you don't want such as heat and frothing of the oil. I doubt I will have an issue on this non turbo engine. I do not plan on doing any road racing at this time...just some spirited driving. New oil seal installed. I also installed the left side buckets, cam shafts, and caps. I decided to hold off on installing the right side. I want to go though the valve adjustment procedure before continuing. I have never adjusted this style head before and the procedure is a little different than I expected. Apparently you leave the cam installed and just push down on the bucket to remove and replace shims. I have the special tool in hand and will get to it when I get to it.
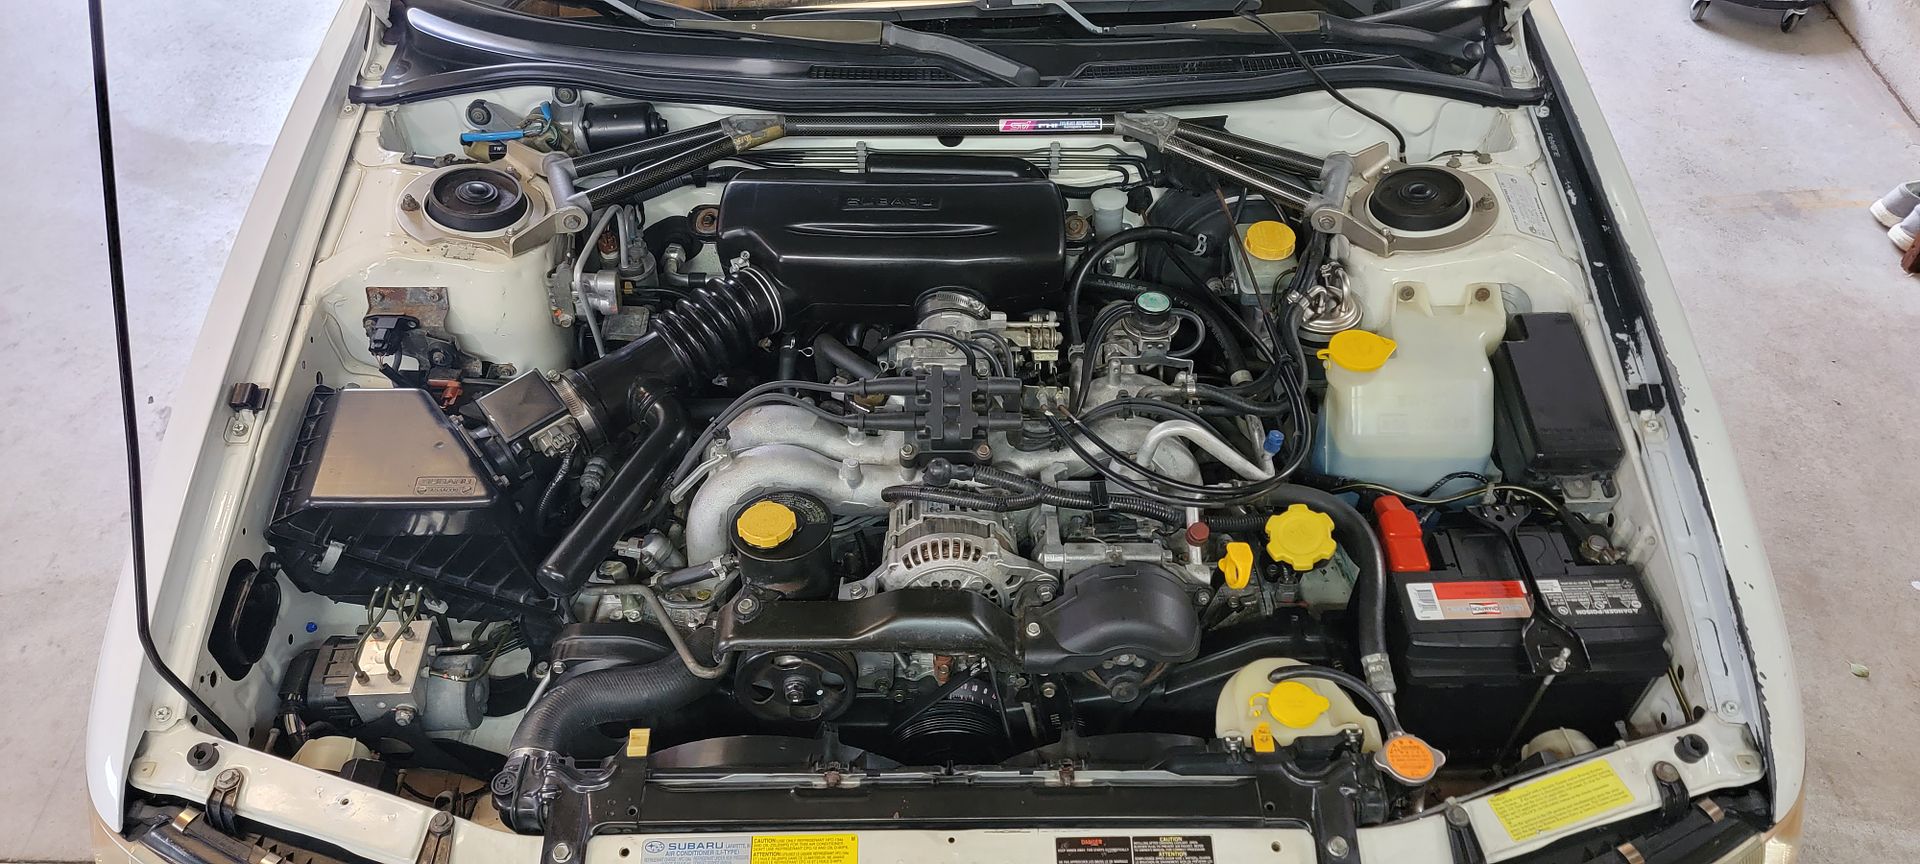
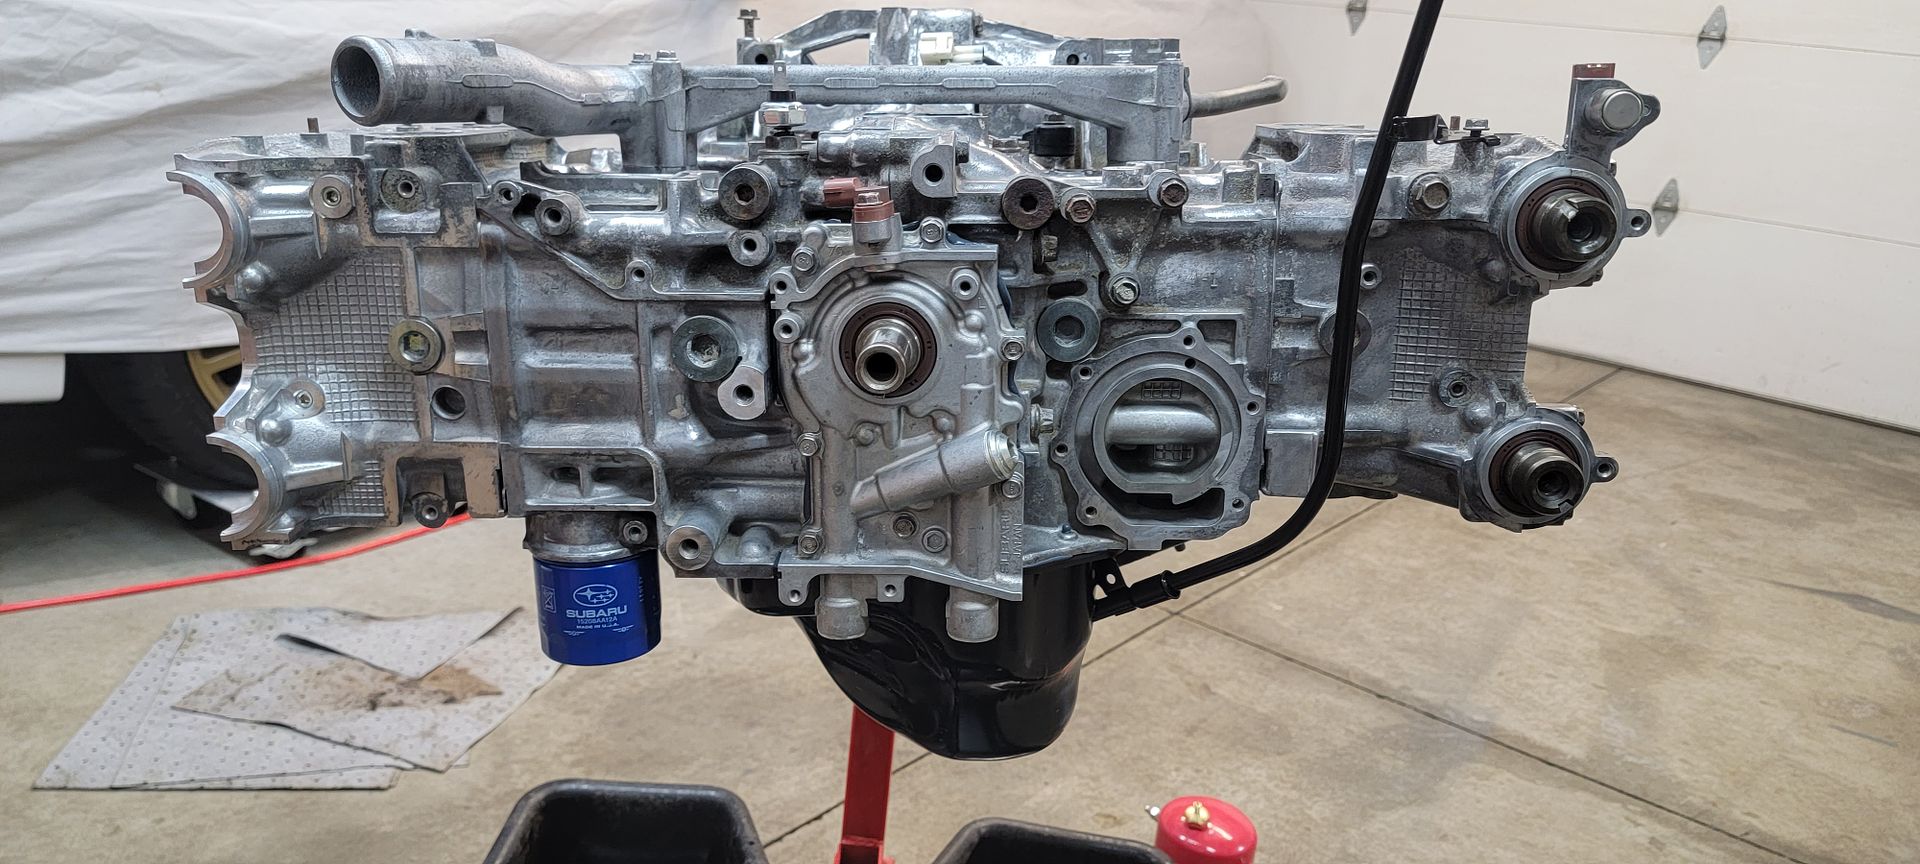
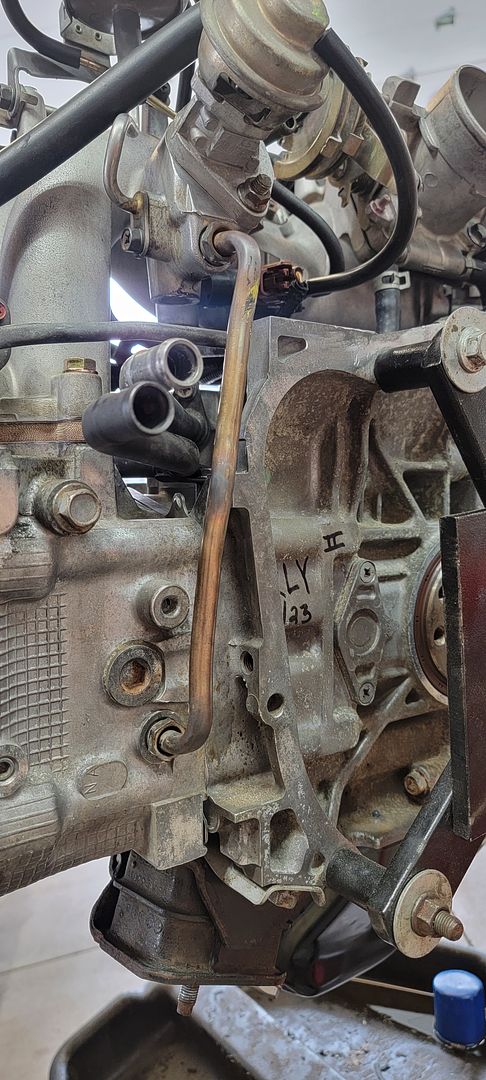
Cross over pipe installed. STI dipstick and tube installed but left loose to allow installation of timing cover. New OEM oil pressure switch installed. OEM water pump, idlers, tensioner, and belt on the way.
Party on Wayne...
-RONI-

_20230129_165519_nUSdbPownpXFQSXWLx2uaA.png?width=1920&height=1080&fit=bounds)

 Reply With Quote

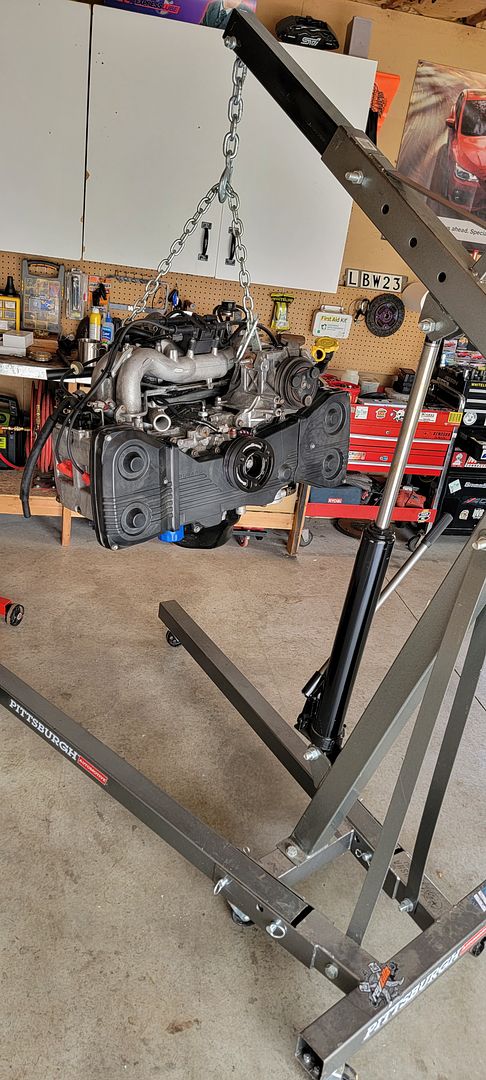
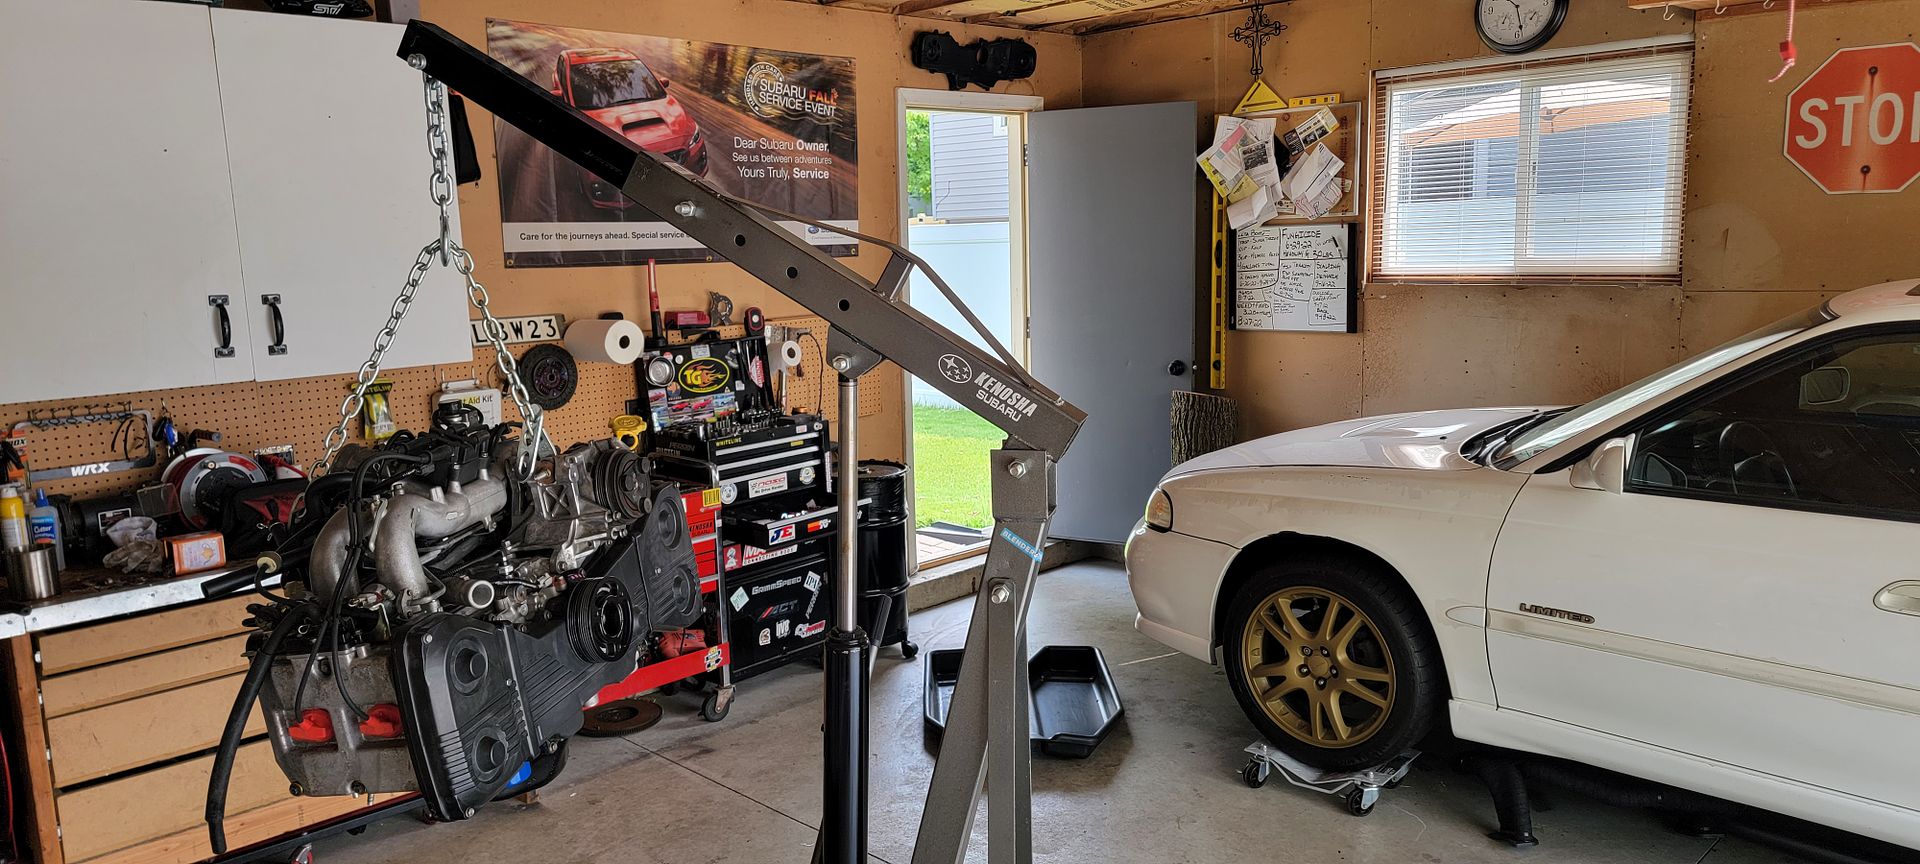
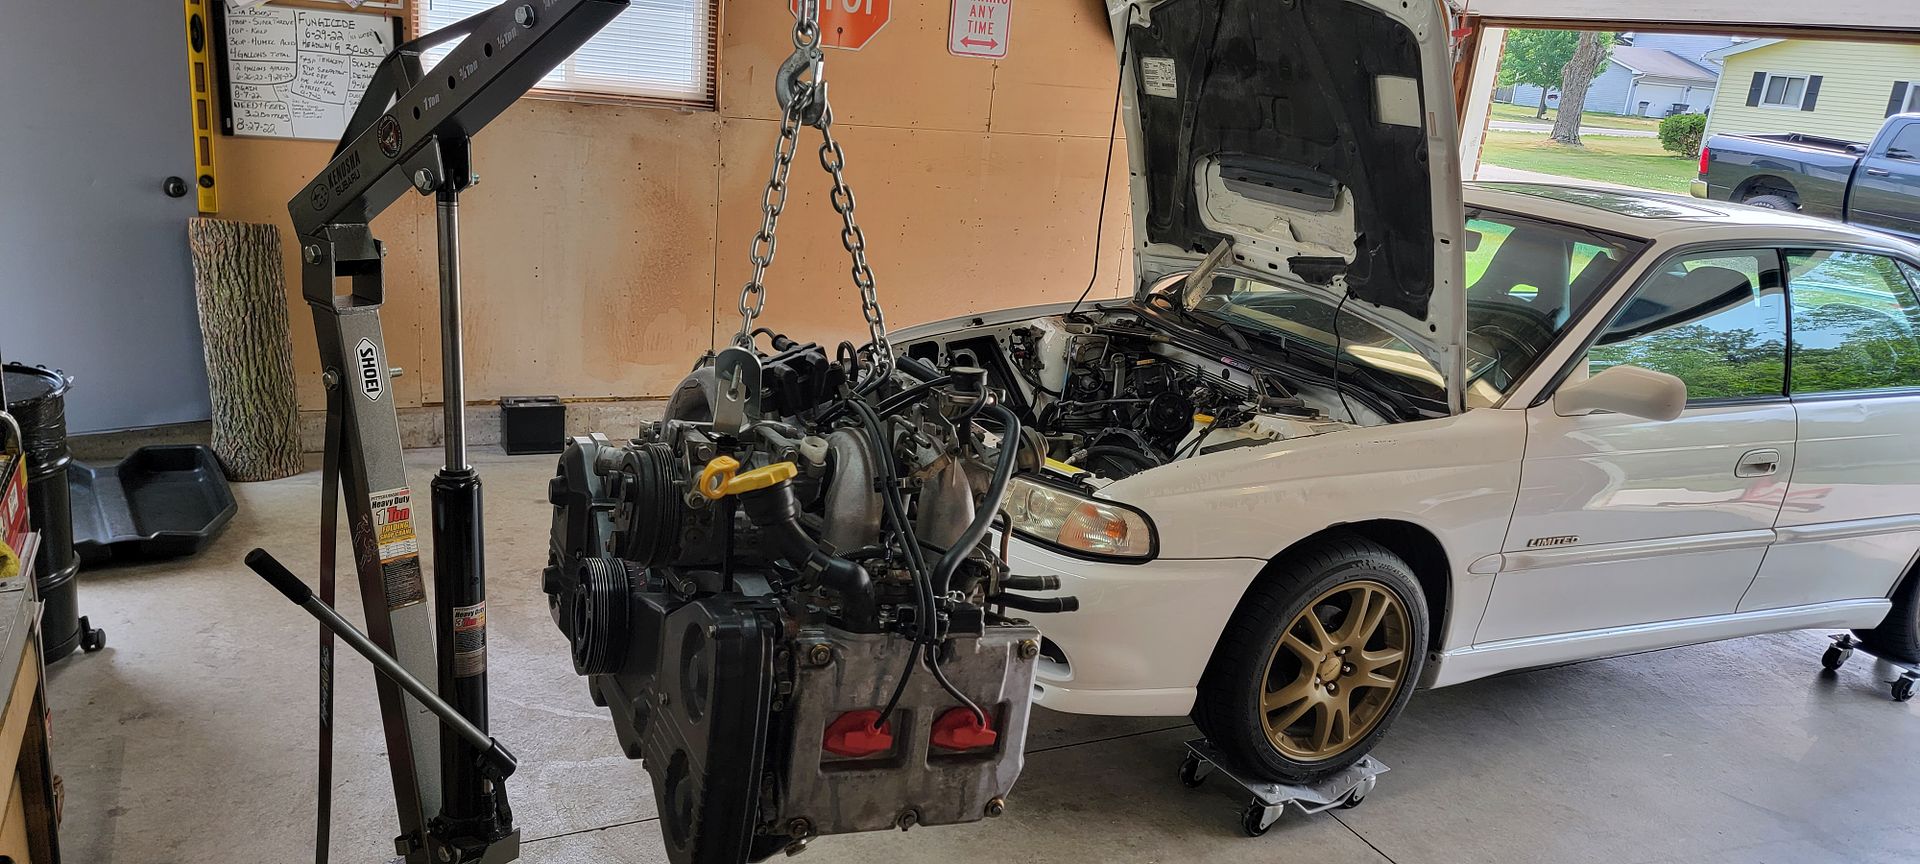
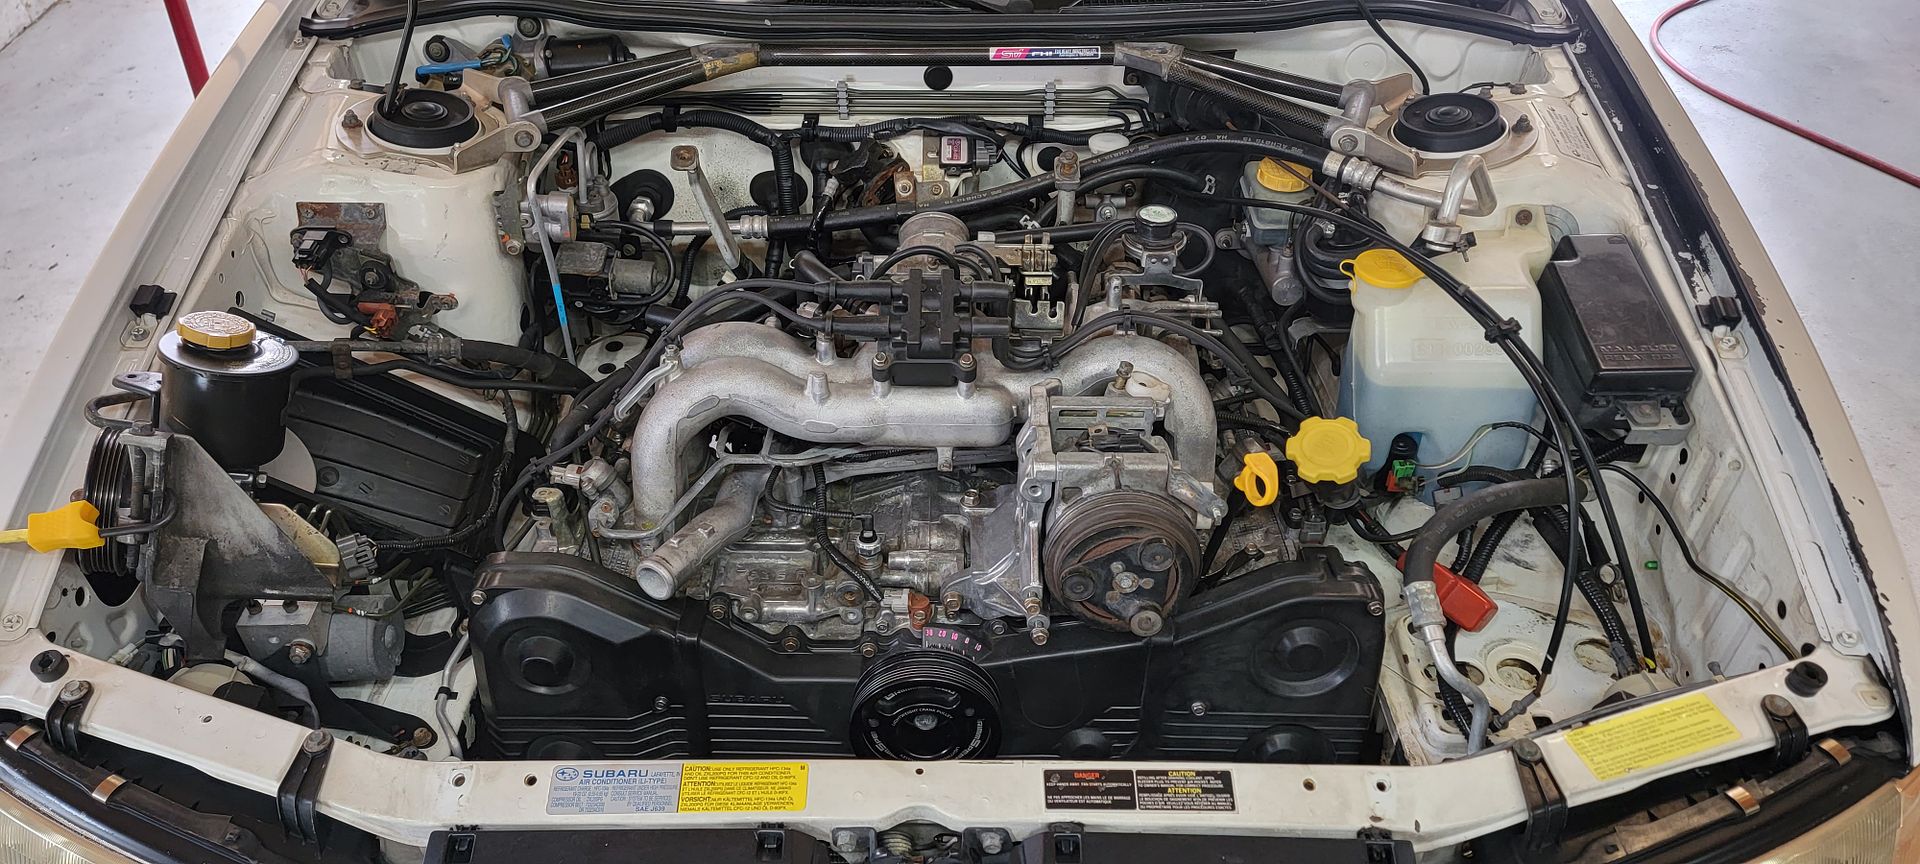
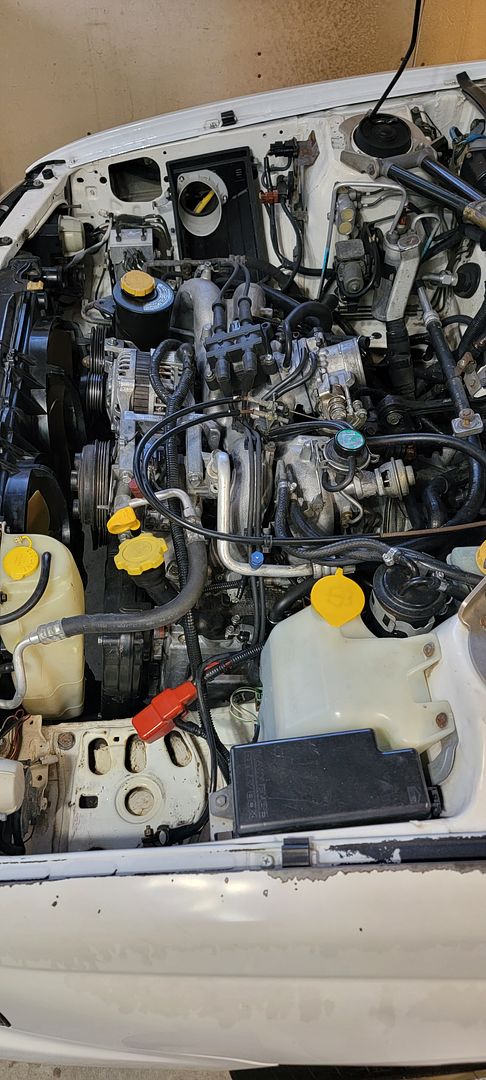
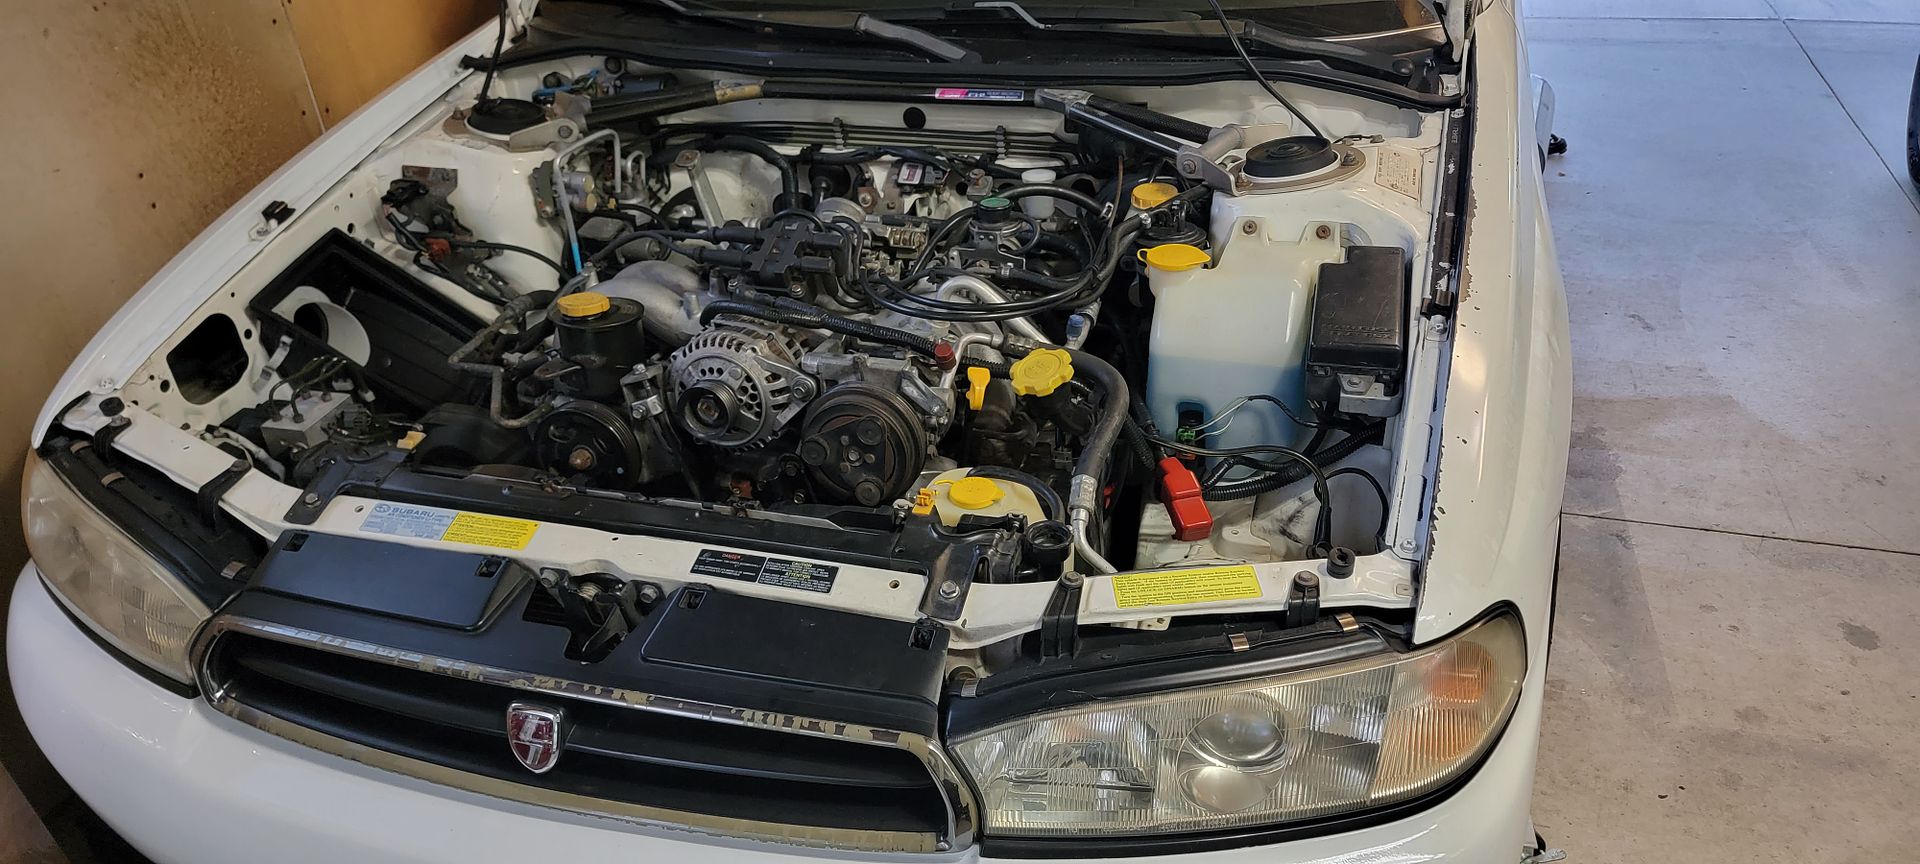
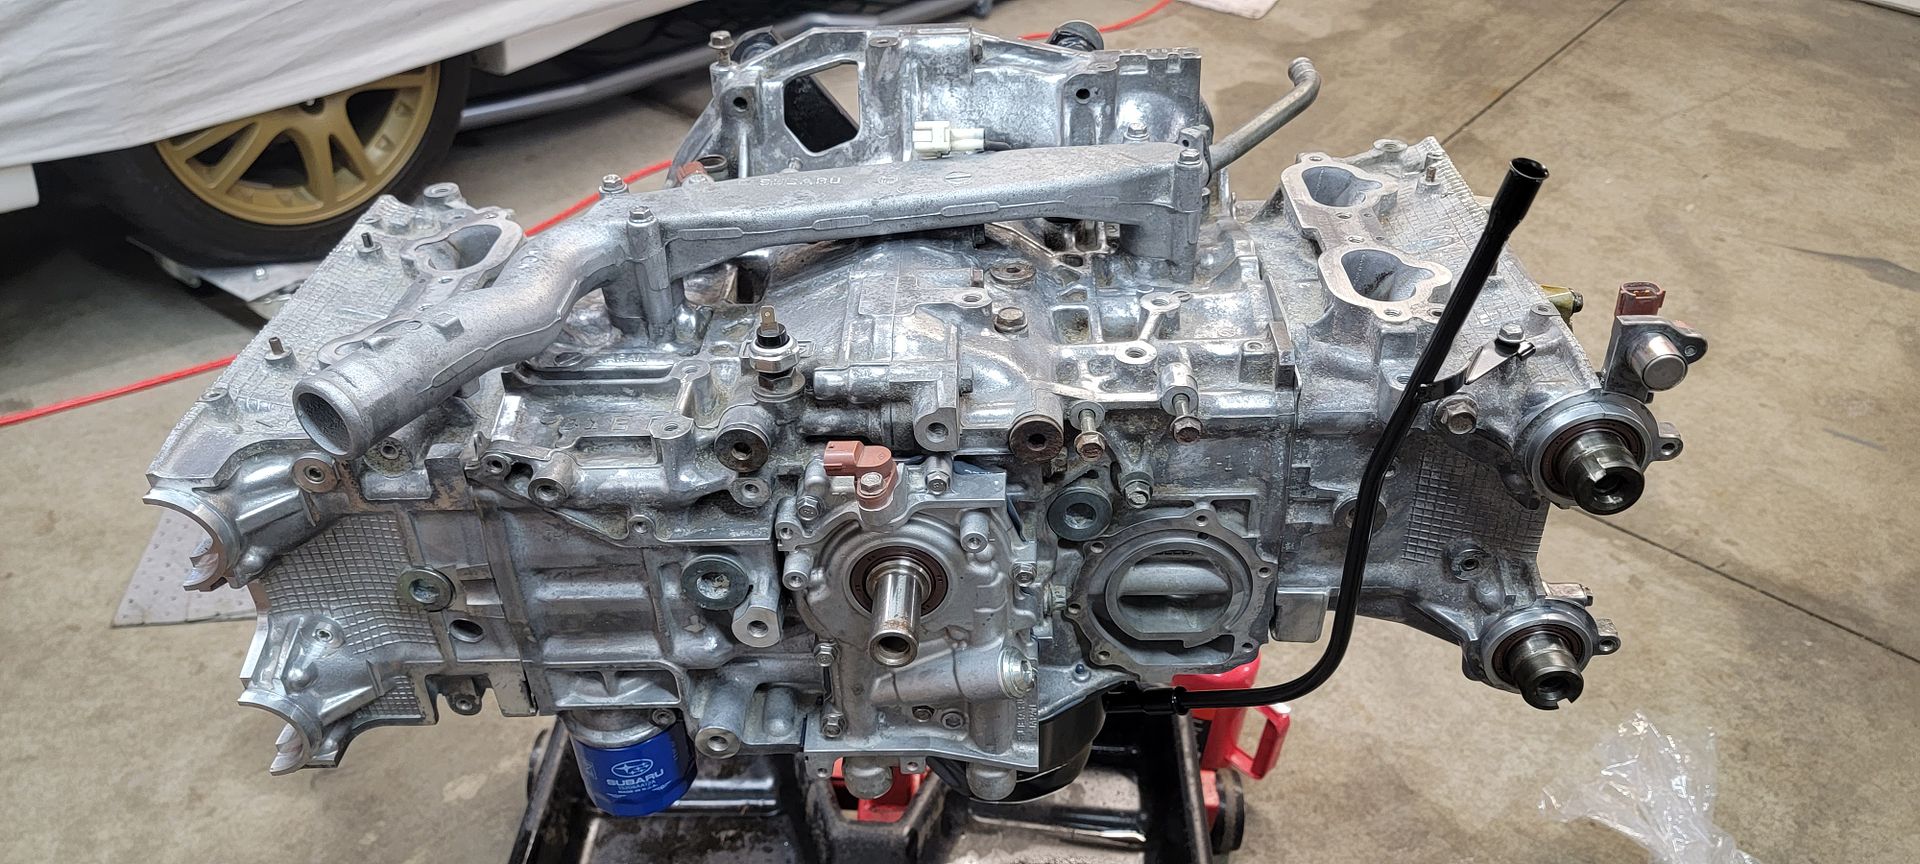
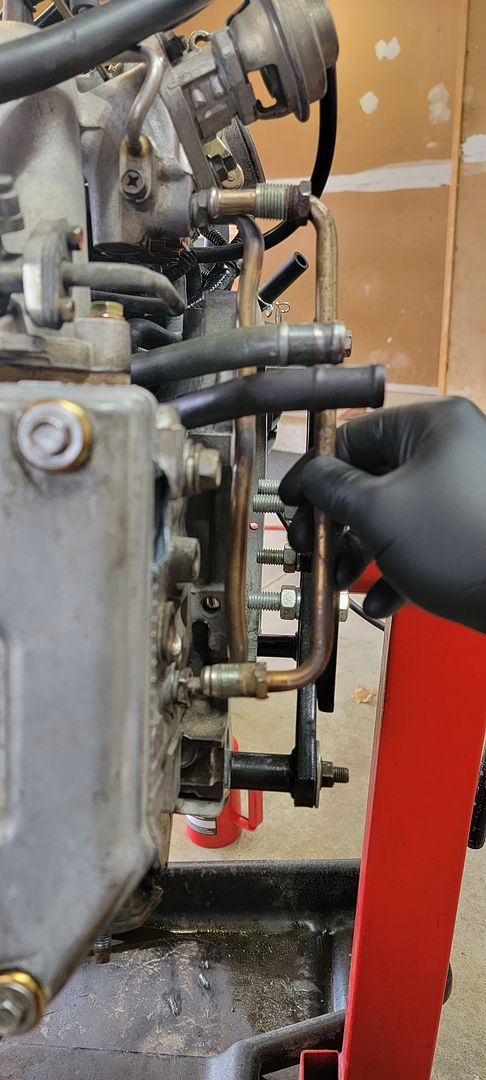
 It was a little confusing getting all the wiring and vacuum tubes back in order. I was able to get it done while also replacing the old cracked up rubber lines and retaping small portions of the harness. I cleaned of harness connectors and installed new large style zip ties in the stock locations. Before putting the intake manifold on I installed the previously mentioned phenolic spacers. Install was about as simple as can be. I used OEM gaskets on both sides of the spacer. The kit came with some fancy hardware which is longer than the OEM bolts for obvious reasons. The hard part was extending the EGR tube. I basically torched the S*** out of it and kept bending and stretching. Eventually I got it in place but it was not easy! The kit should come with a new tube in my opinion....just sayin. Timing covers were cleaned and installed along with the light weight crank pulley. A/C compressor installed.


_20230422_144812.png?width=1920&height=1080&fit=bounds)
_20230422_144822.png?width=1920&height=1080&fit=bounds)