Hello SL-i 's fellows,
Are you feeling uncomfortably with L once you get into the car with the flashlight to find your stuff in the groove box or once you are finding some coils on the floor mats and you don't wanna reach out your arms to turn on the dome light for just reading something.
Yes! I am ,so you know!
This would be my first DIY , If I have put something wrong , please remind me that would be appreciated.
** and Pardon me, English is my second.
LET t's start the DIY with following,
Donor car : 96-99 regular Outback w/o sunroof
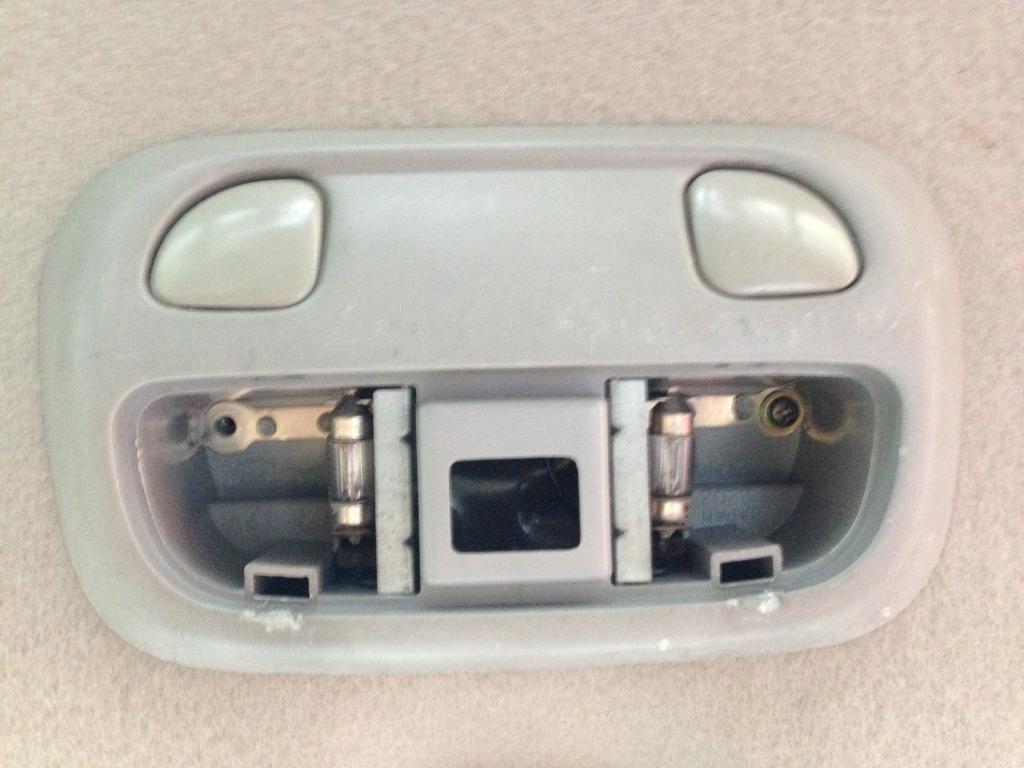
Material & Cost : map light + harness+ sponges+ apart of $10
: 3M Quick connector $6.01
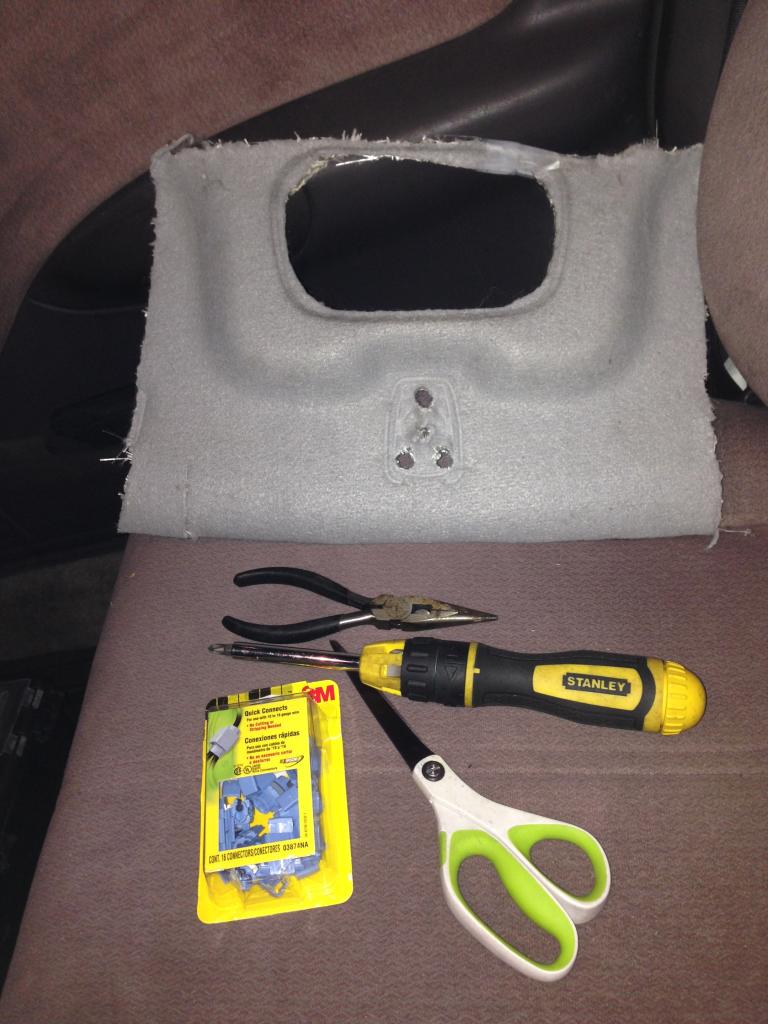
Tools: Phillips screw driver,Flat screw driver,Scissors,Knife
Time : 20 minutes
How To :
1. Prep map light($10) & harness(free) off 96-99 regular Outback w/o sunroof ( Ltd w/o sunroof has awesome sunglass storage but you have to replace headliner and add bracket on the ceiling as well)
2. Jig's used to control the location and/or motion of another tool .It's importance of installation. Apart of headliner that surrounded the map light which can assist your jobs done quickly , so far so good You ought to cut off it as following picture ( I got it for free)
3. tear down your sun-visor bracket and rear view mirror completely.
4.put the jig properly on car's headliner then put back rear view mirror to fix the jig to the place then use marker draw the line follow jig's trail.
5. Use sharpen knife ( me stole Kitchen knife) to cut off the trail as well.
6. Putting sponges behind the edges of headliner to be map light's supporters.
Due to couple regular holes on roof were provided already.You just fit the map light bracket carefully and secure bracket with belonging screws.
7. Route the single harness toward dome light (center light) behind headliner.
8. For neat installation and save your time. I would hook up map light's wire (blue /red) to dome light's wire(blue/red) with 3M quick connector.
9. Make sure you test the light before re-installing all stuff back to the places.
10. get out Blind night vision and get the bright in.
Enjoy pictures of steps
hope this help you so far
thanks for looking


 Reply With Quote